Issue
Epoxy resins and 3D printer resins produce irritants. This can make working with them in a basement, garage or unventilated room difficult and unhealthy.
Solution
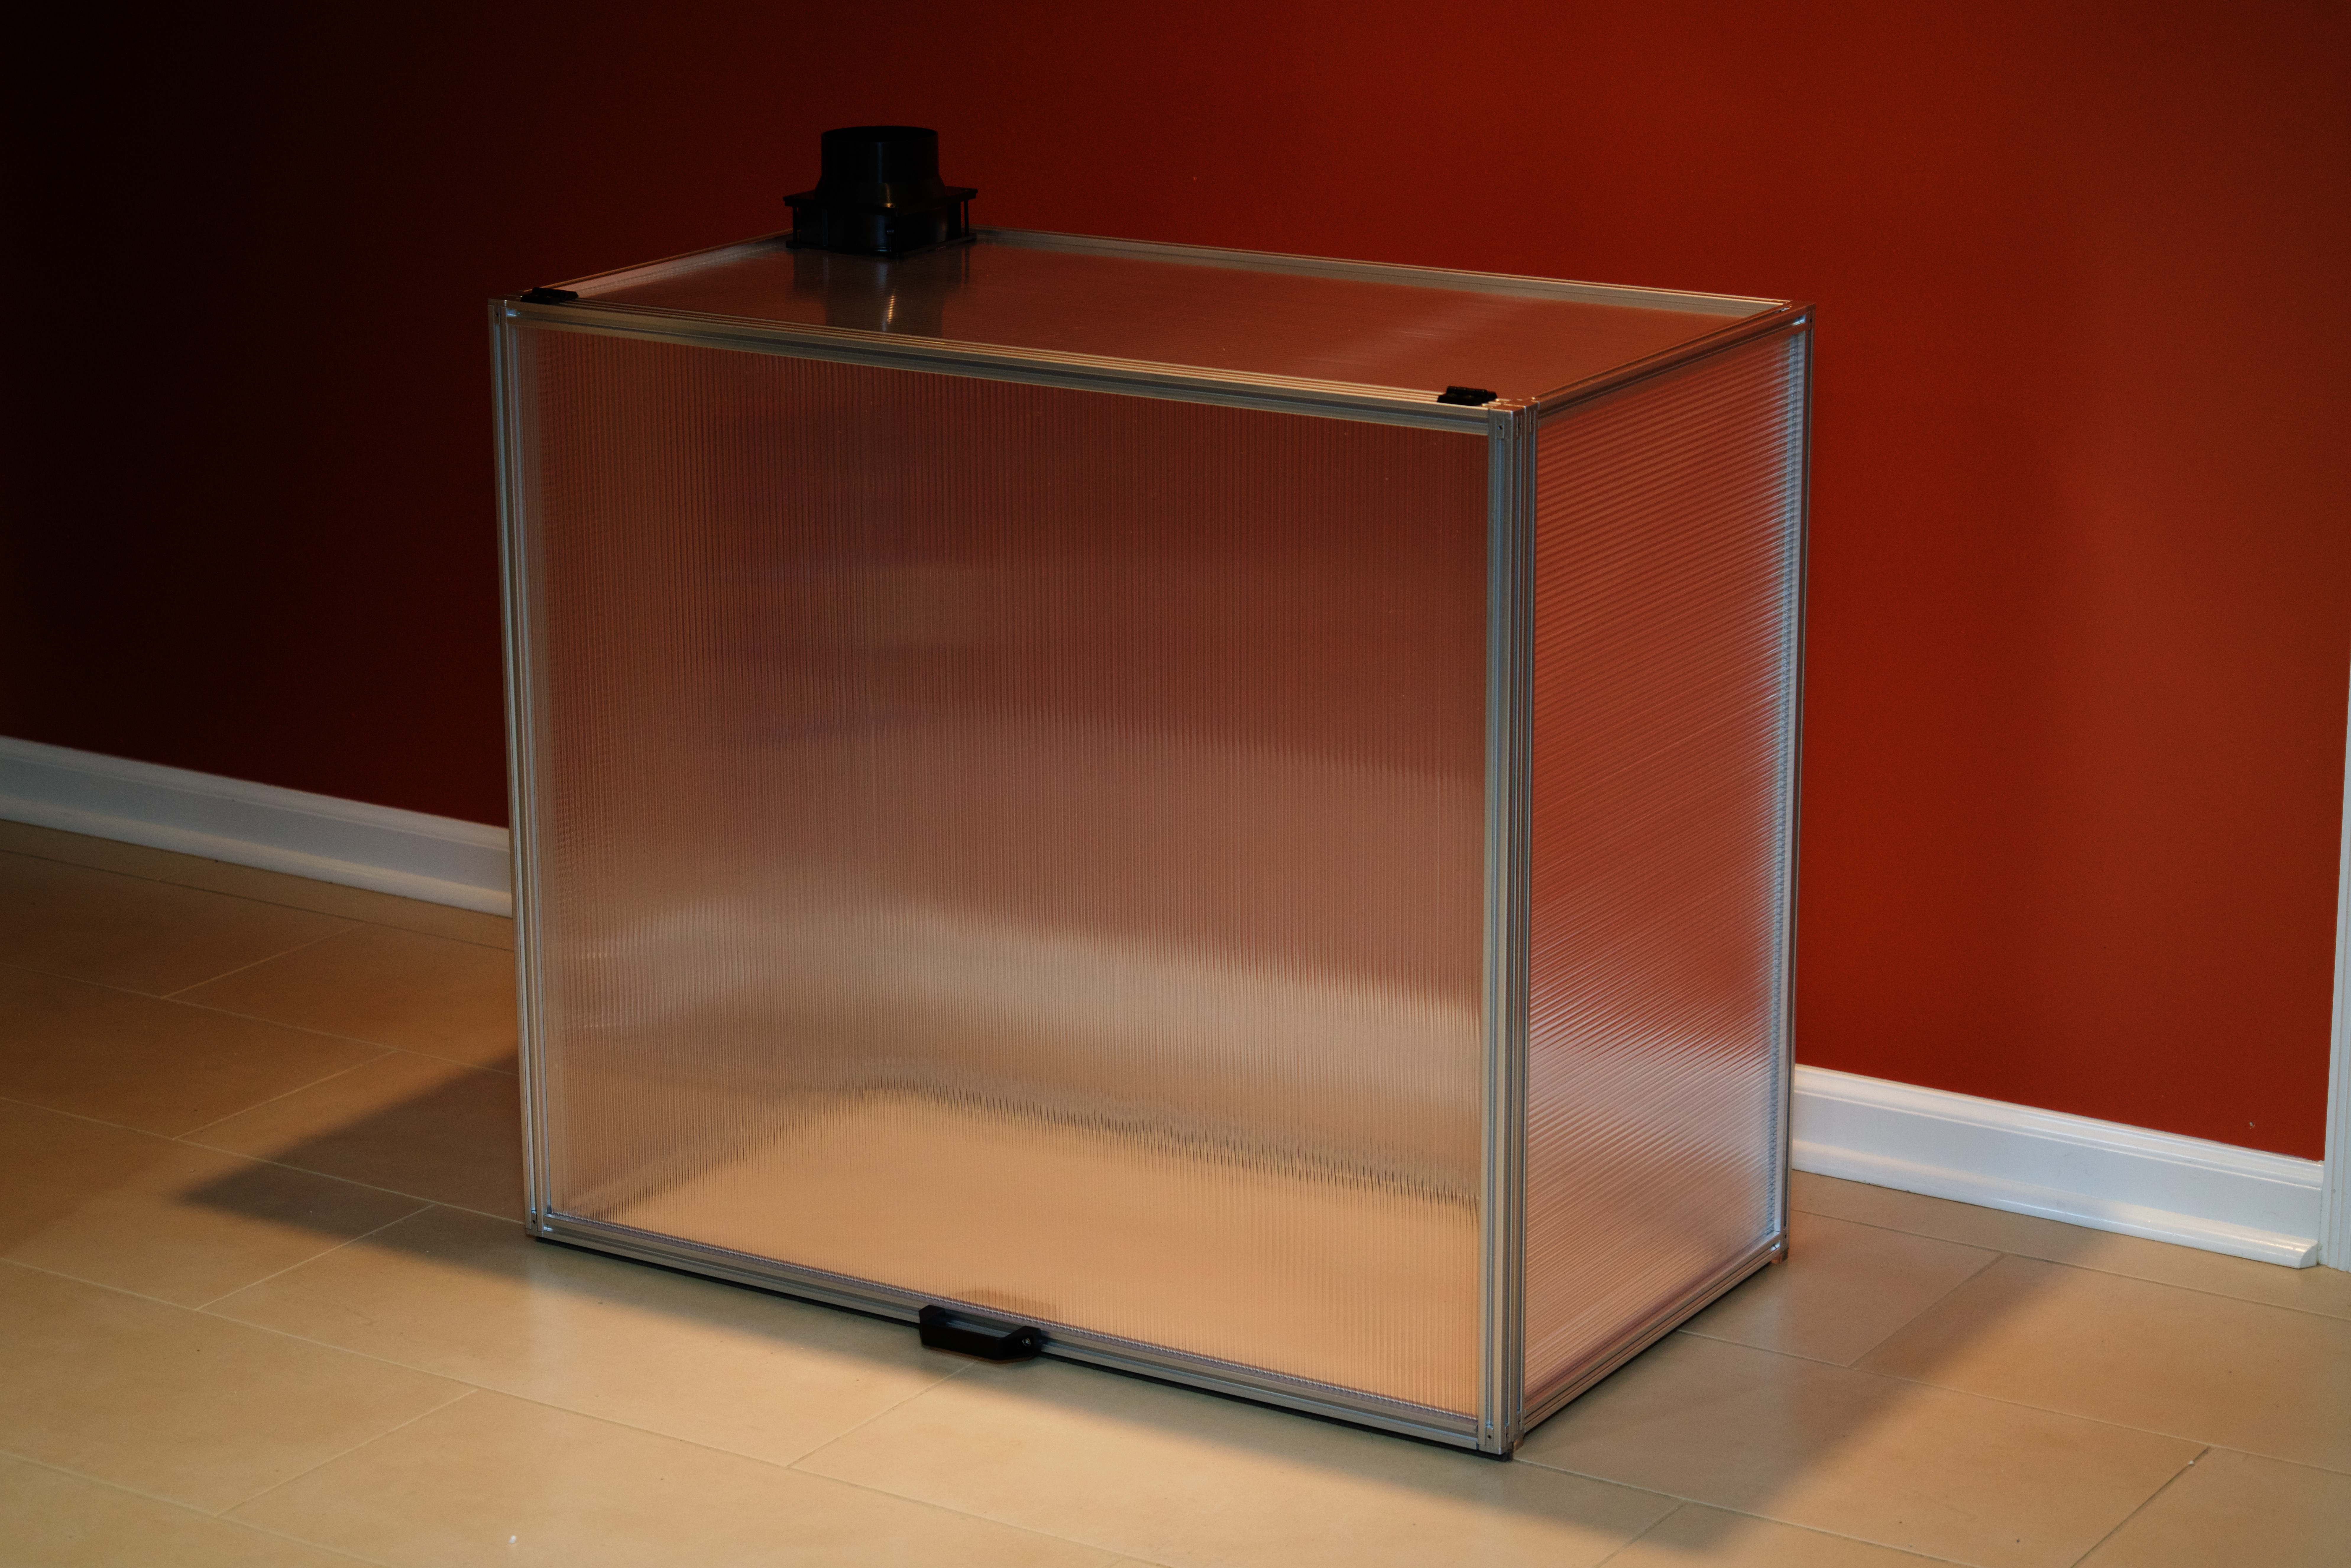
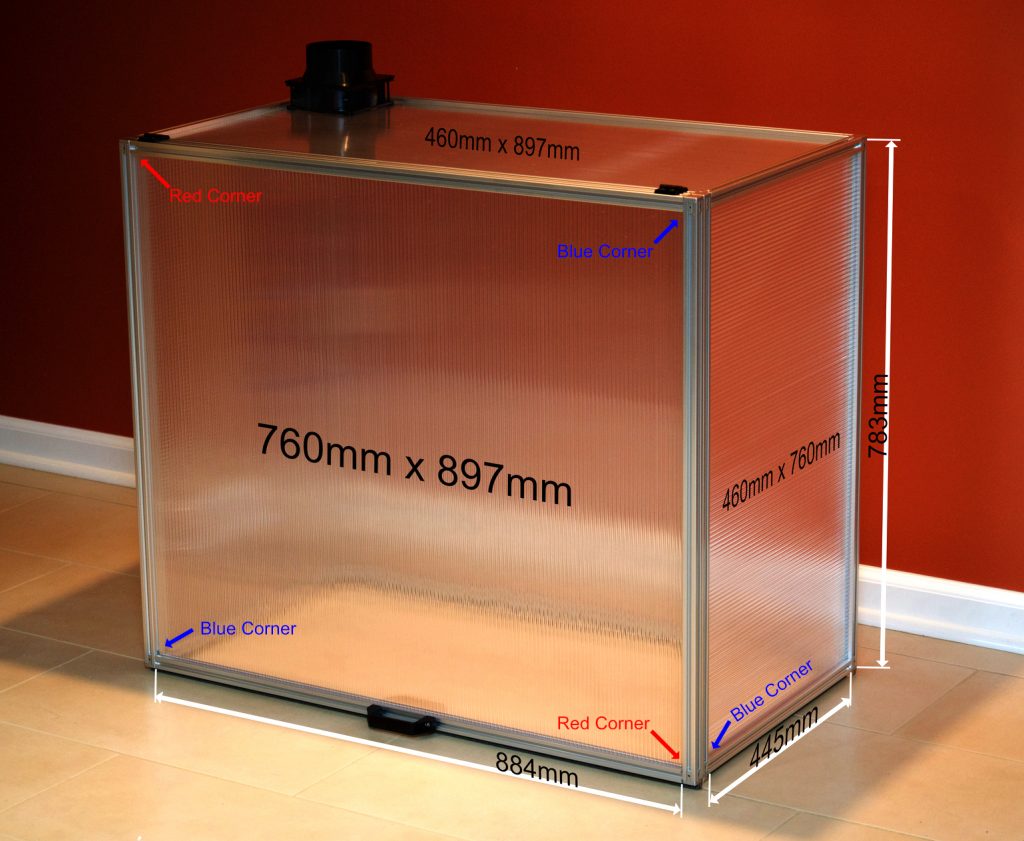
This exhaust hood was designed to enclose a 3D resin printer running in my basement. This project gave me a reason to work with 2020 aluminum extrusion beams. The inside dimensions of this box are 445mm x 884mm (17.5″ x 34.75″) These dimensions were chosen to fit the 3D printer and maximize usage of the polycarbonate sheet. Adjust the dimensions according to your needs. For instance, if you do epoxy resin art, a short wide box would be a better choice so the art can lay flat inside.
Parts List
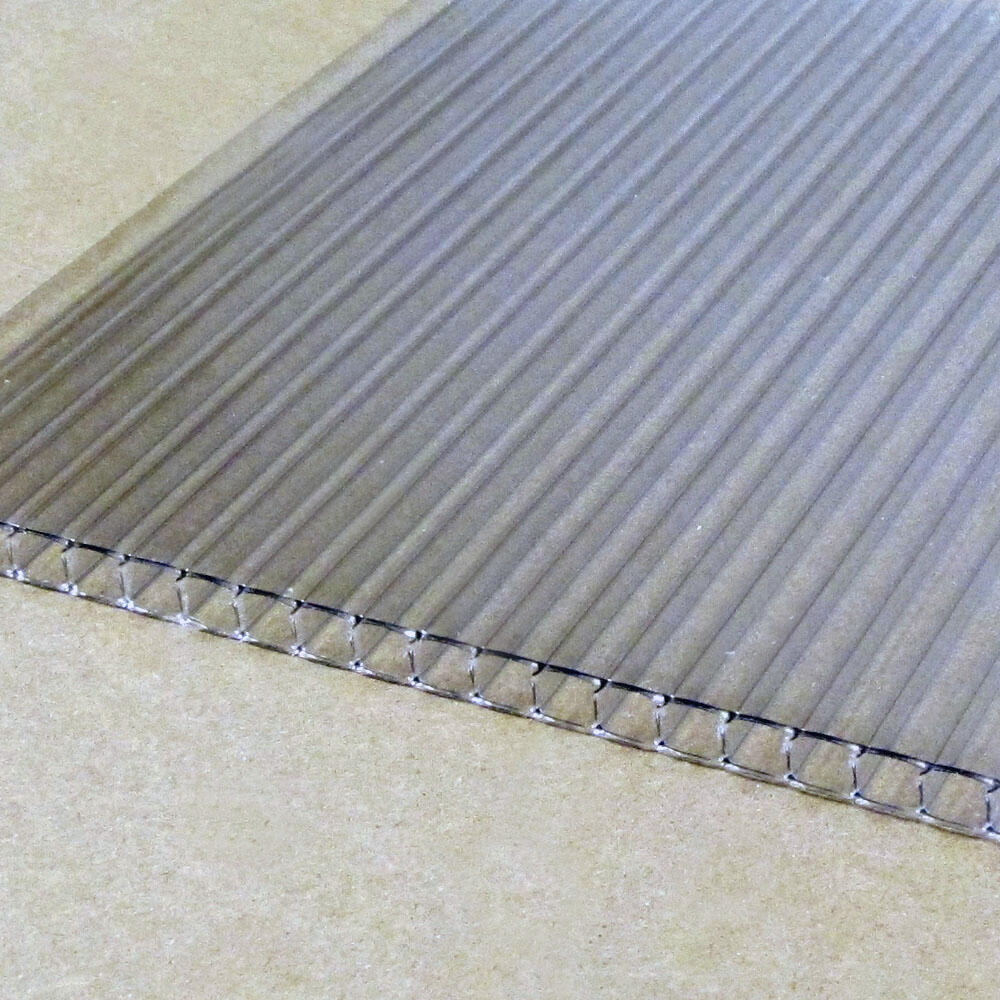 6mm Polycarbonate Twin Wall Panel
 1000mm T Slot 2020 Series Extruded Aluminum Beam
800mm T Slot 2020 Series Extruded Aluminum Beam
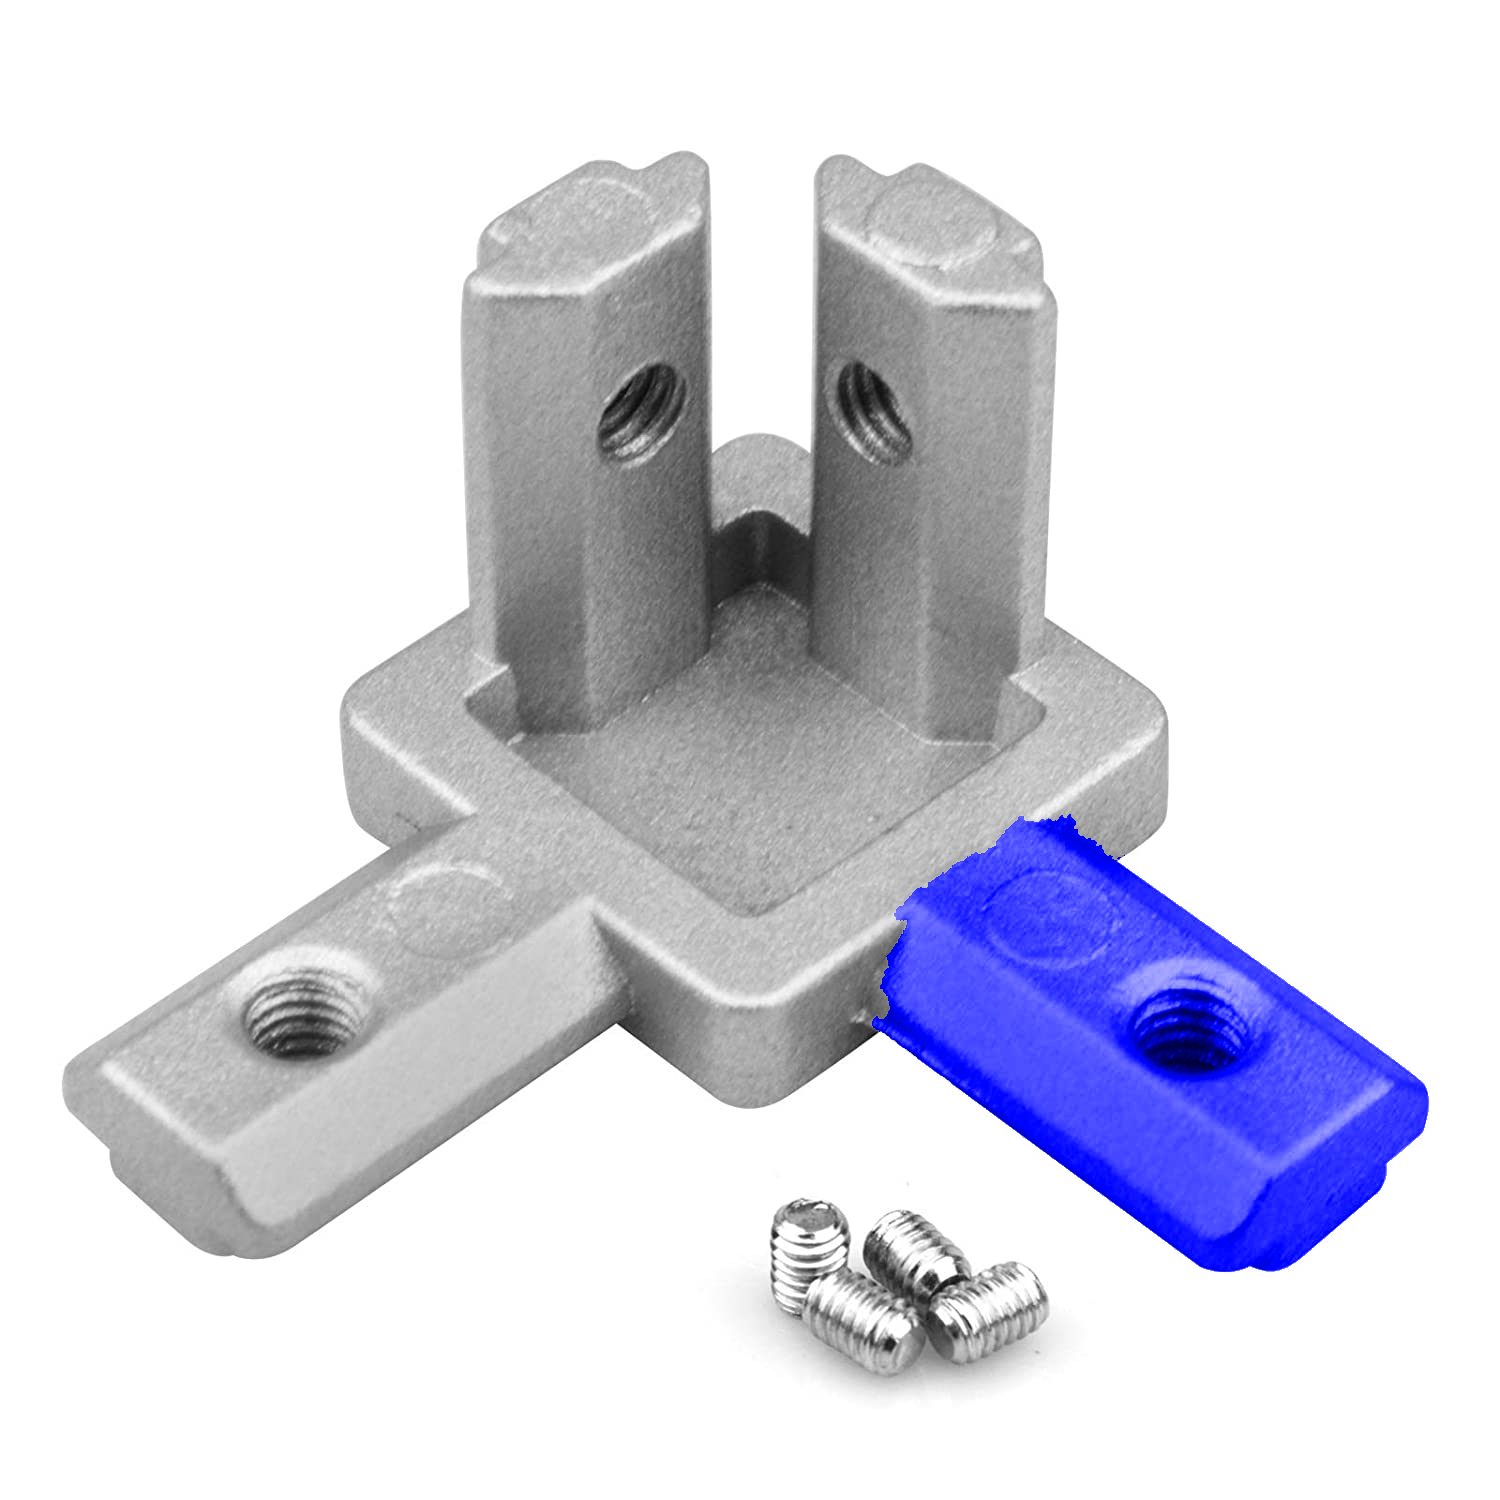
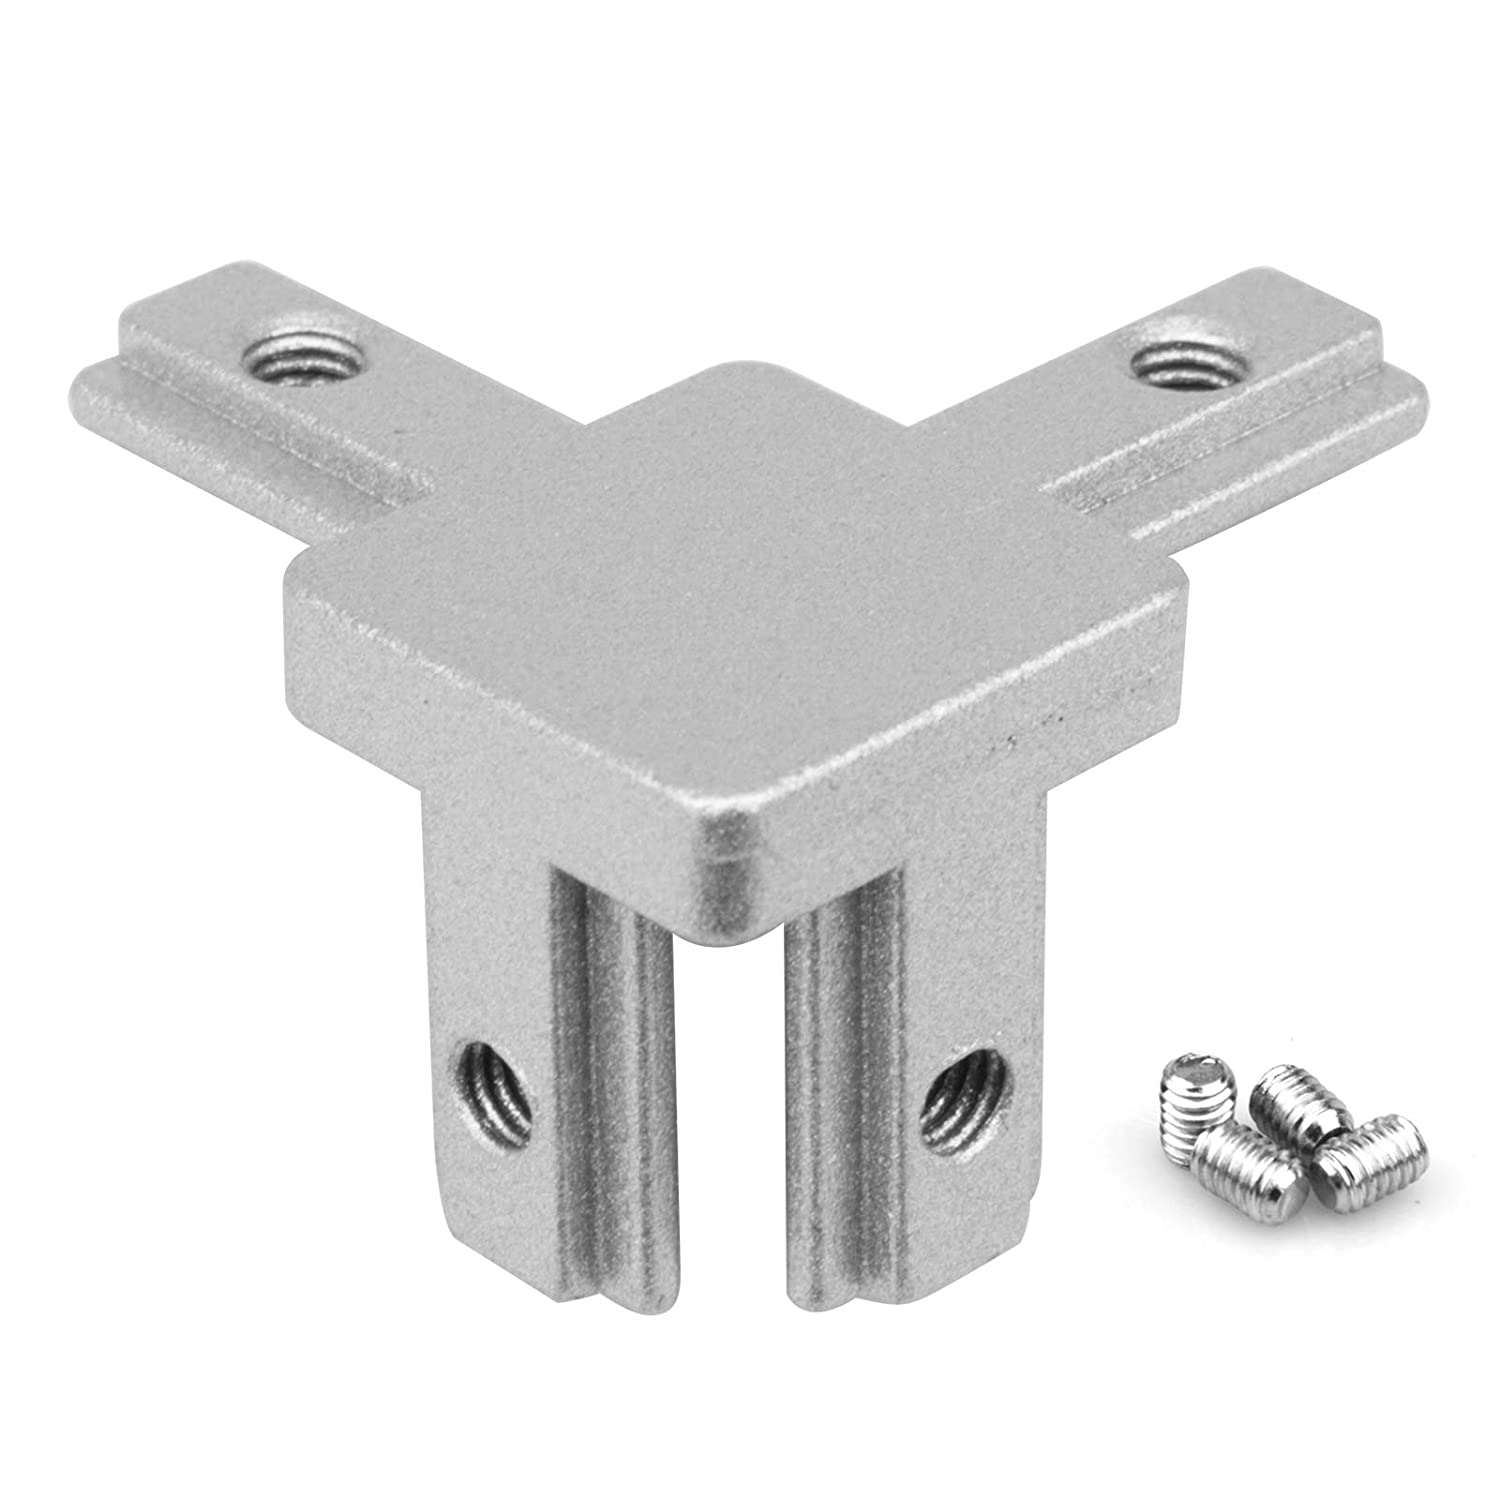 2020 Series 3-Way Corner Brackets
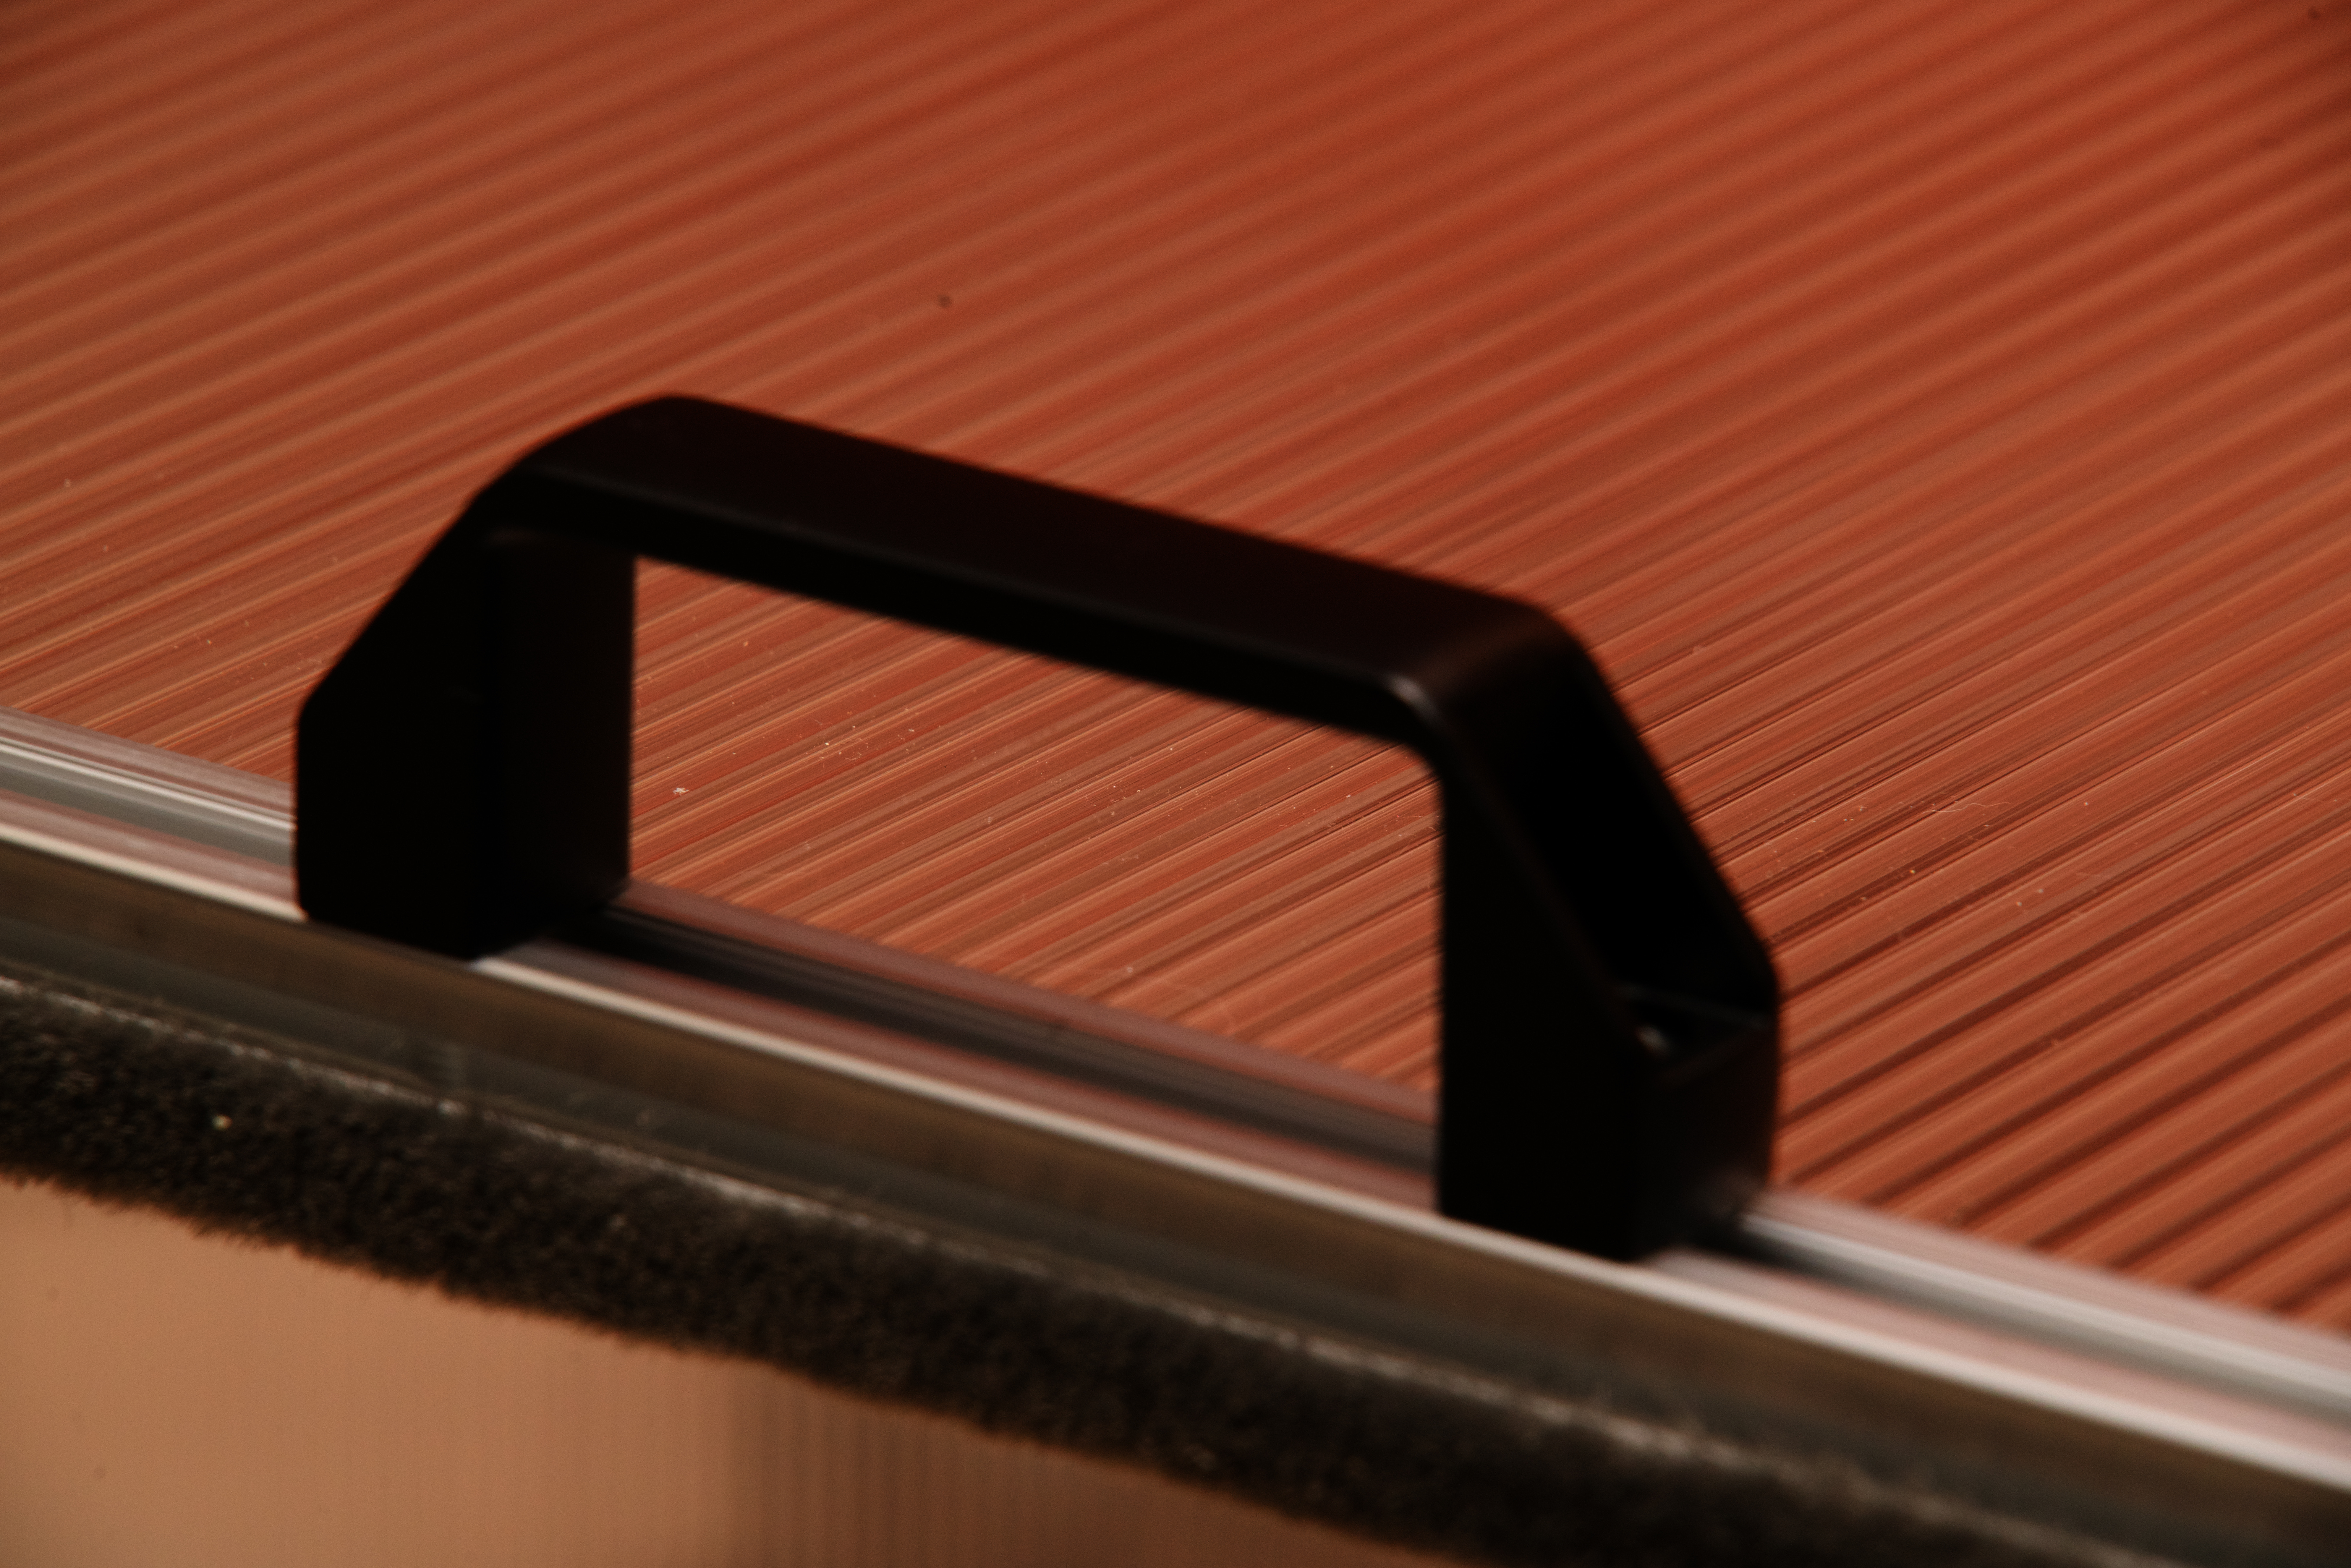
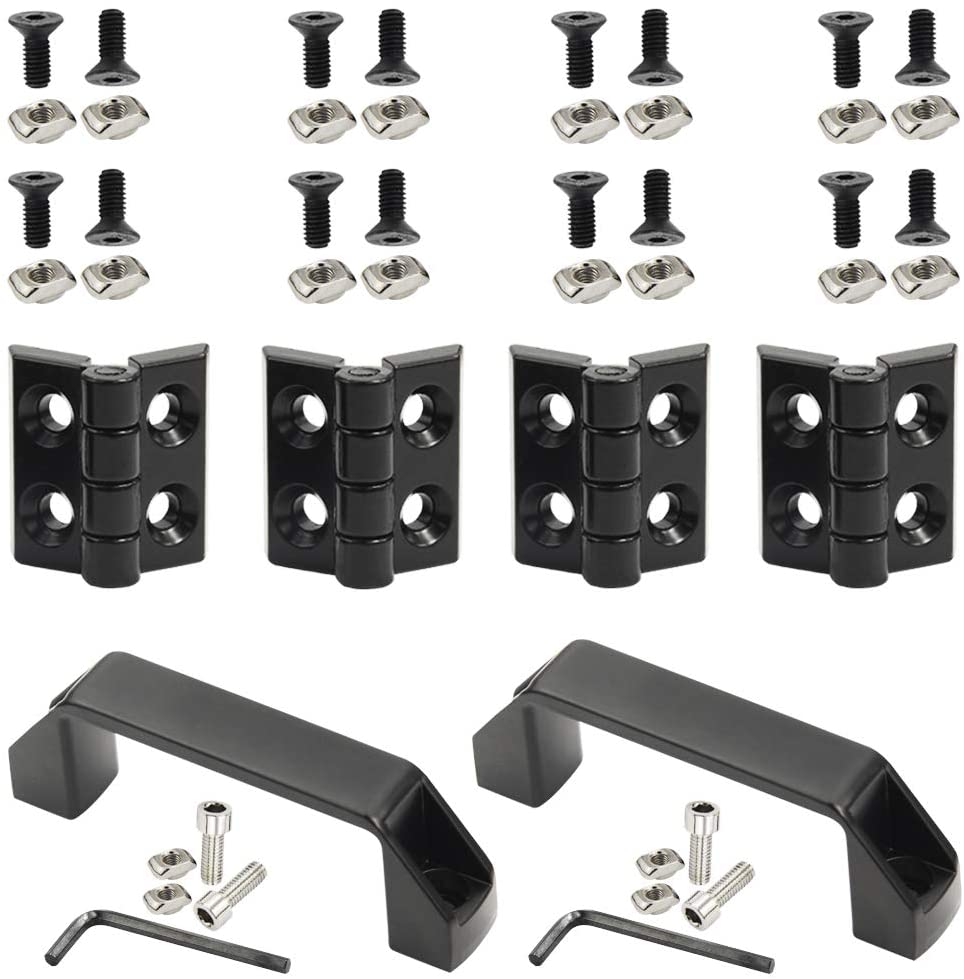 2020 Series Door Hindges and Handle
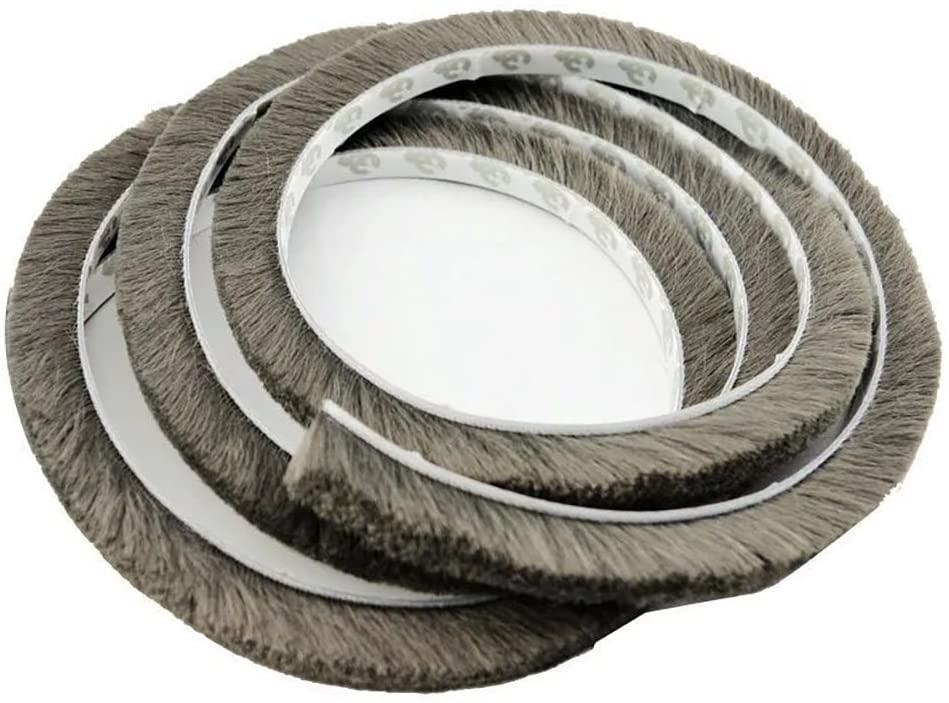 Door and Window Pile Weather Strip The weather strip allows air to flow into the box when the door is closed while filtering out dust.
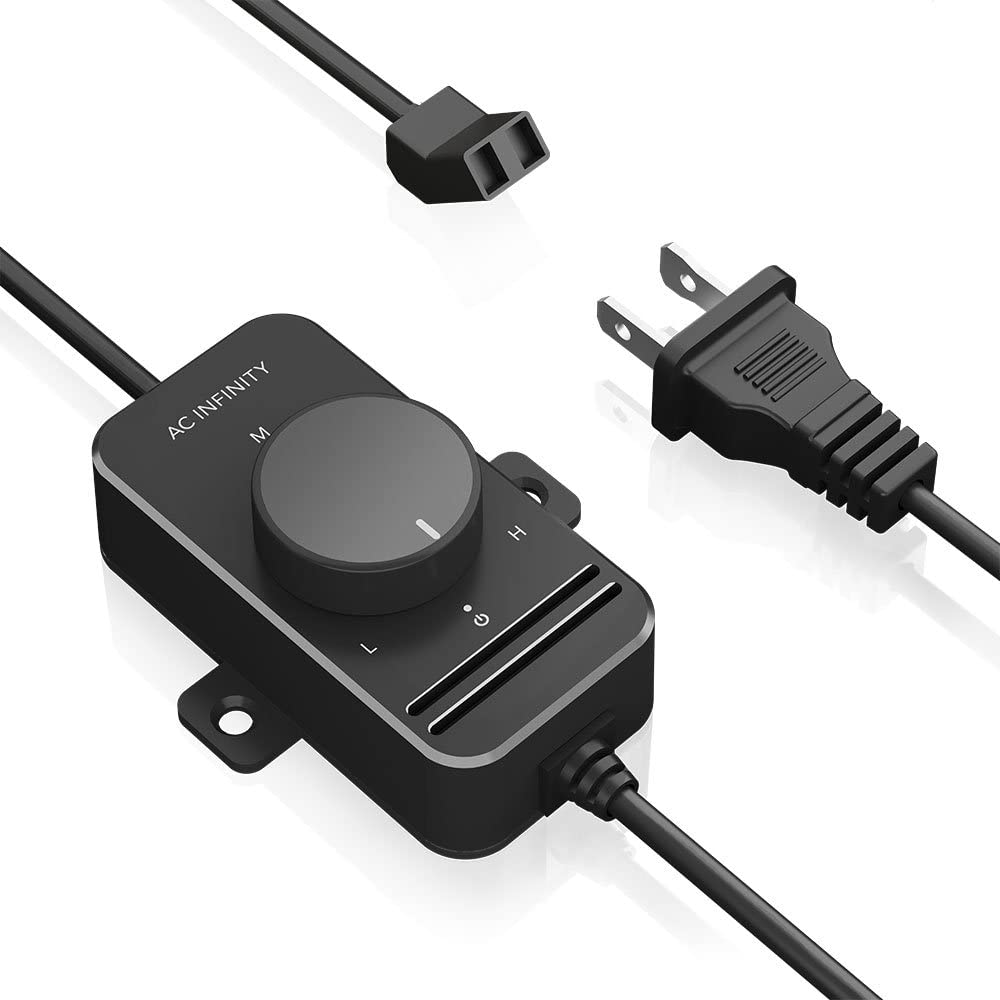 Fan Speed Control allows the fan to run slow while the door is closed and maintain a quiet environment.
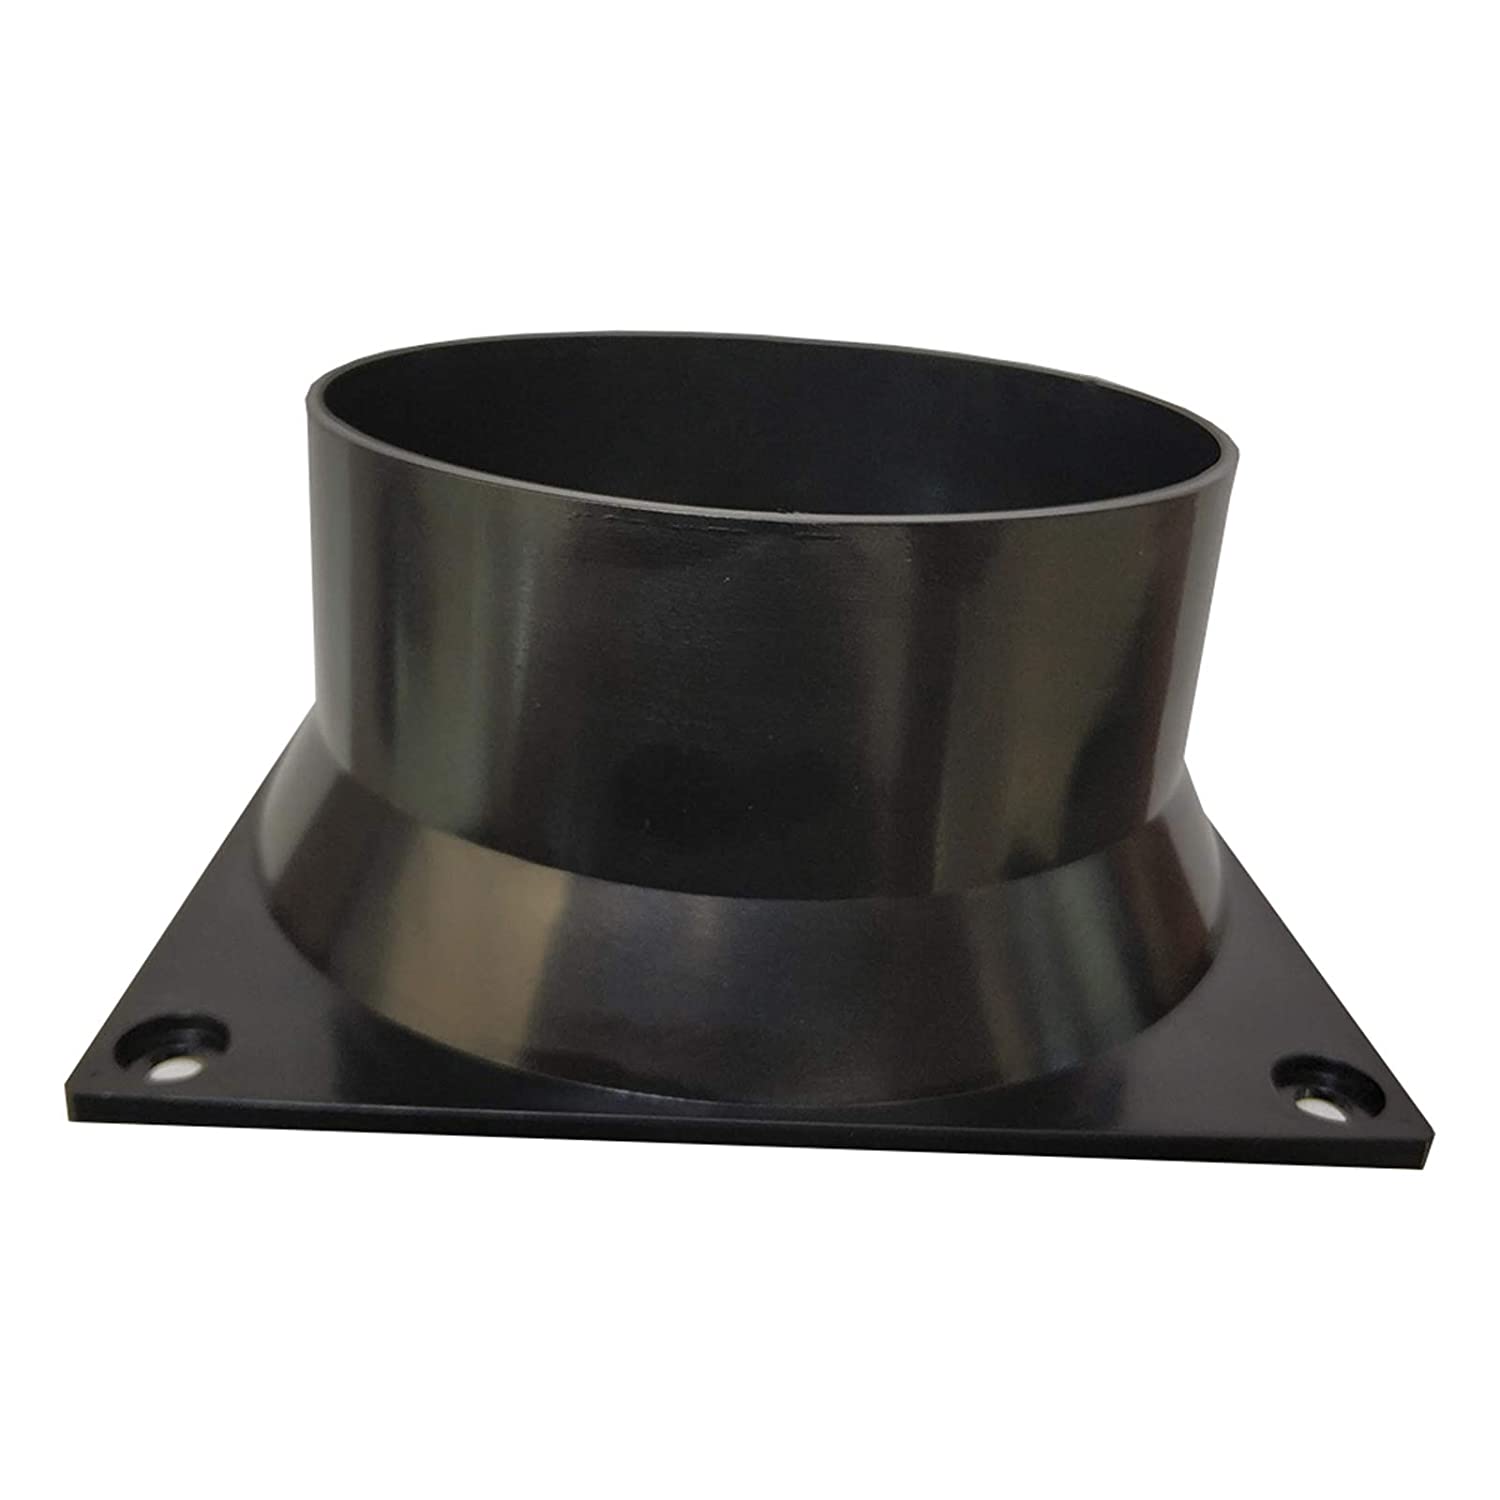 120mm Fan to 4inch Exhaust Duct
Assembly
- Cut five – 1000mm aluminum extrusions to 884mm for the front/back horizontal beams. I used a miter saw with a finishing blade.
- Cut two – 1000mm aluminum extrusions into two pieces of length 445mm for the side horizontal beams.
- Cut six – 800mm aluminum extrusions to 783mm for the vertical beams.
- Cut the red leg off of 3 corner brackets.
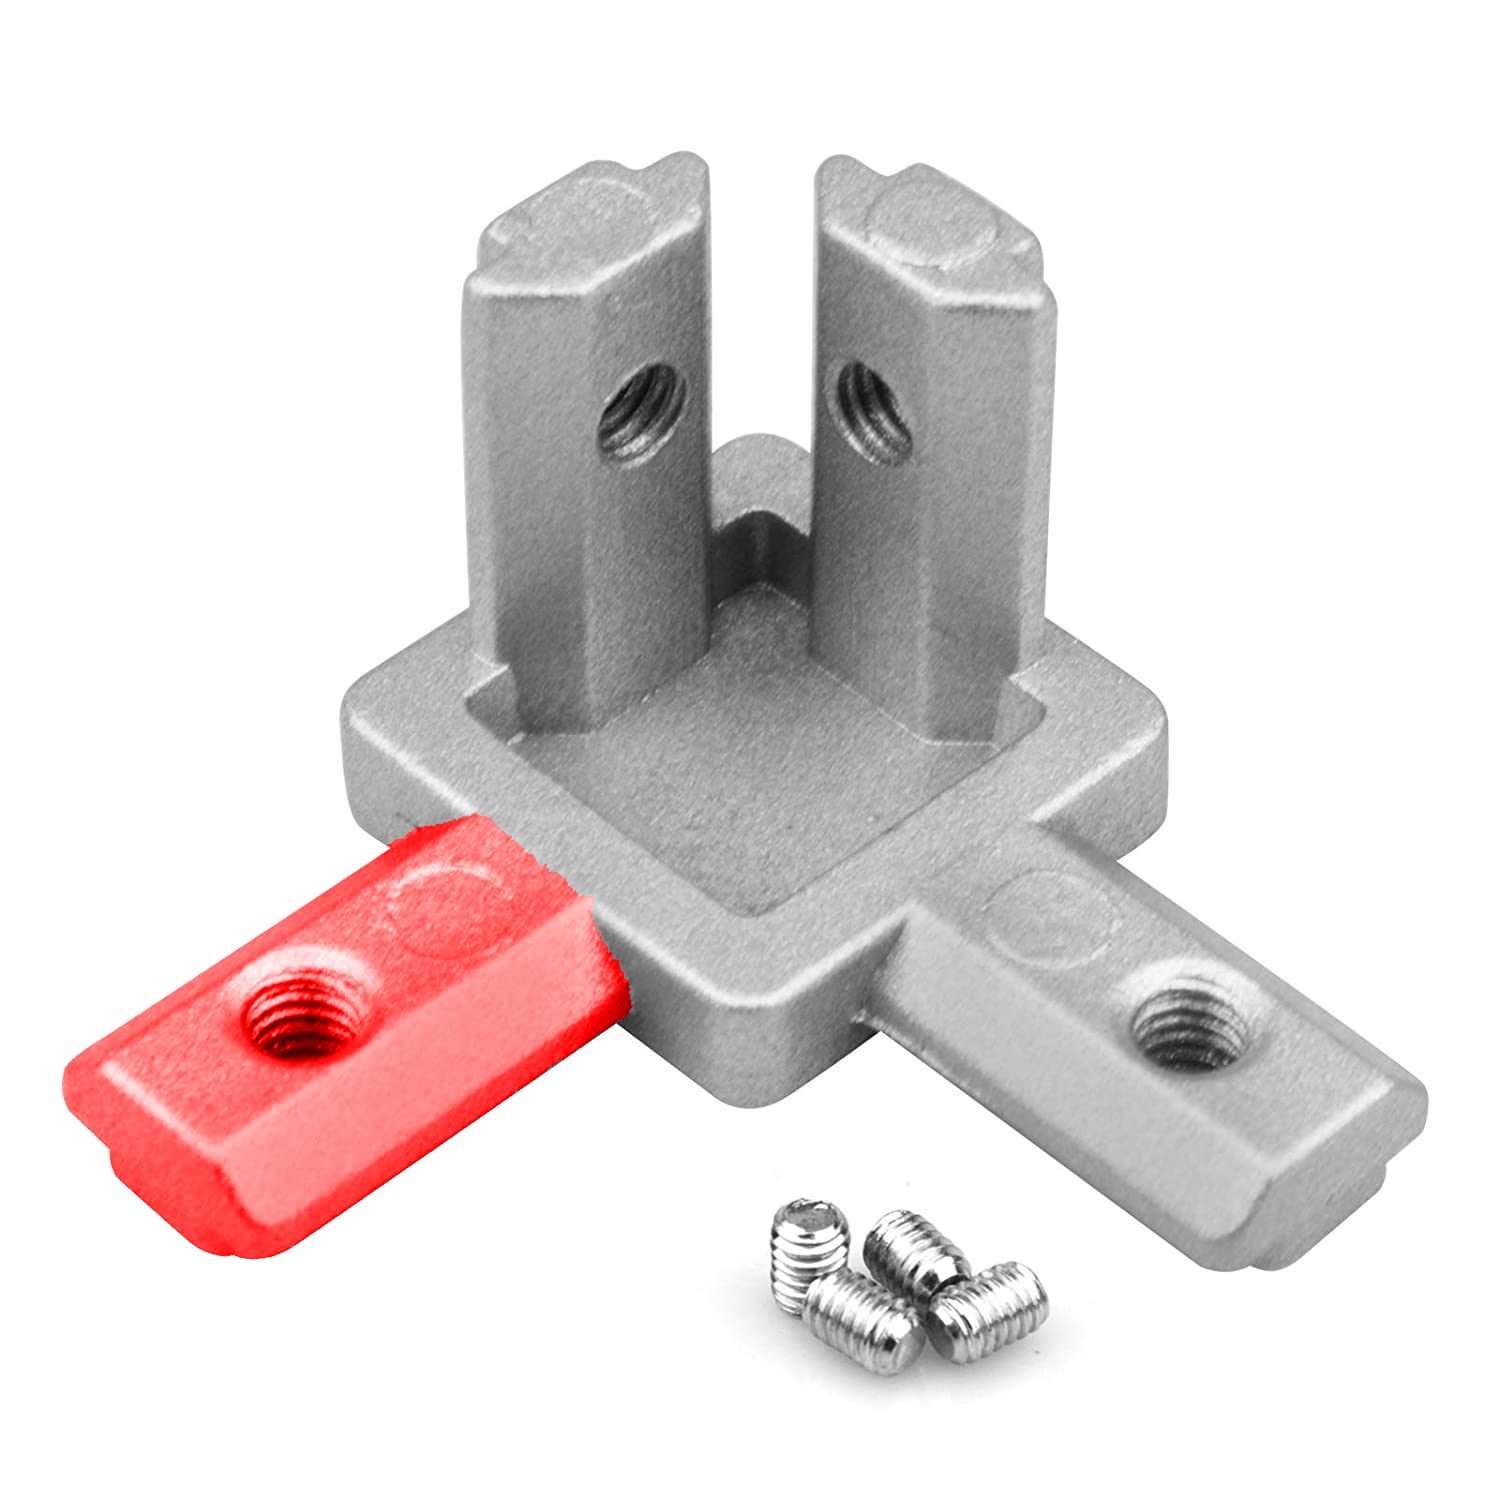 I used a standard hacksaw.
 - Cut the blue leg off of 3 corner brackets.
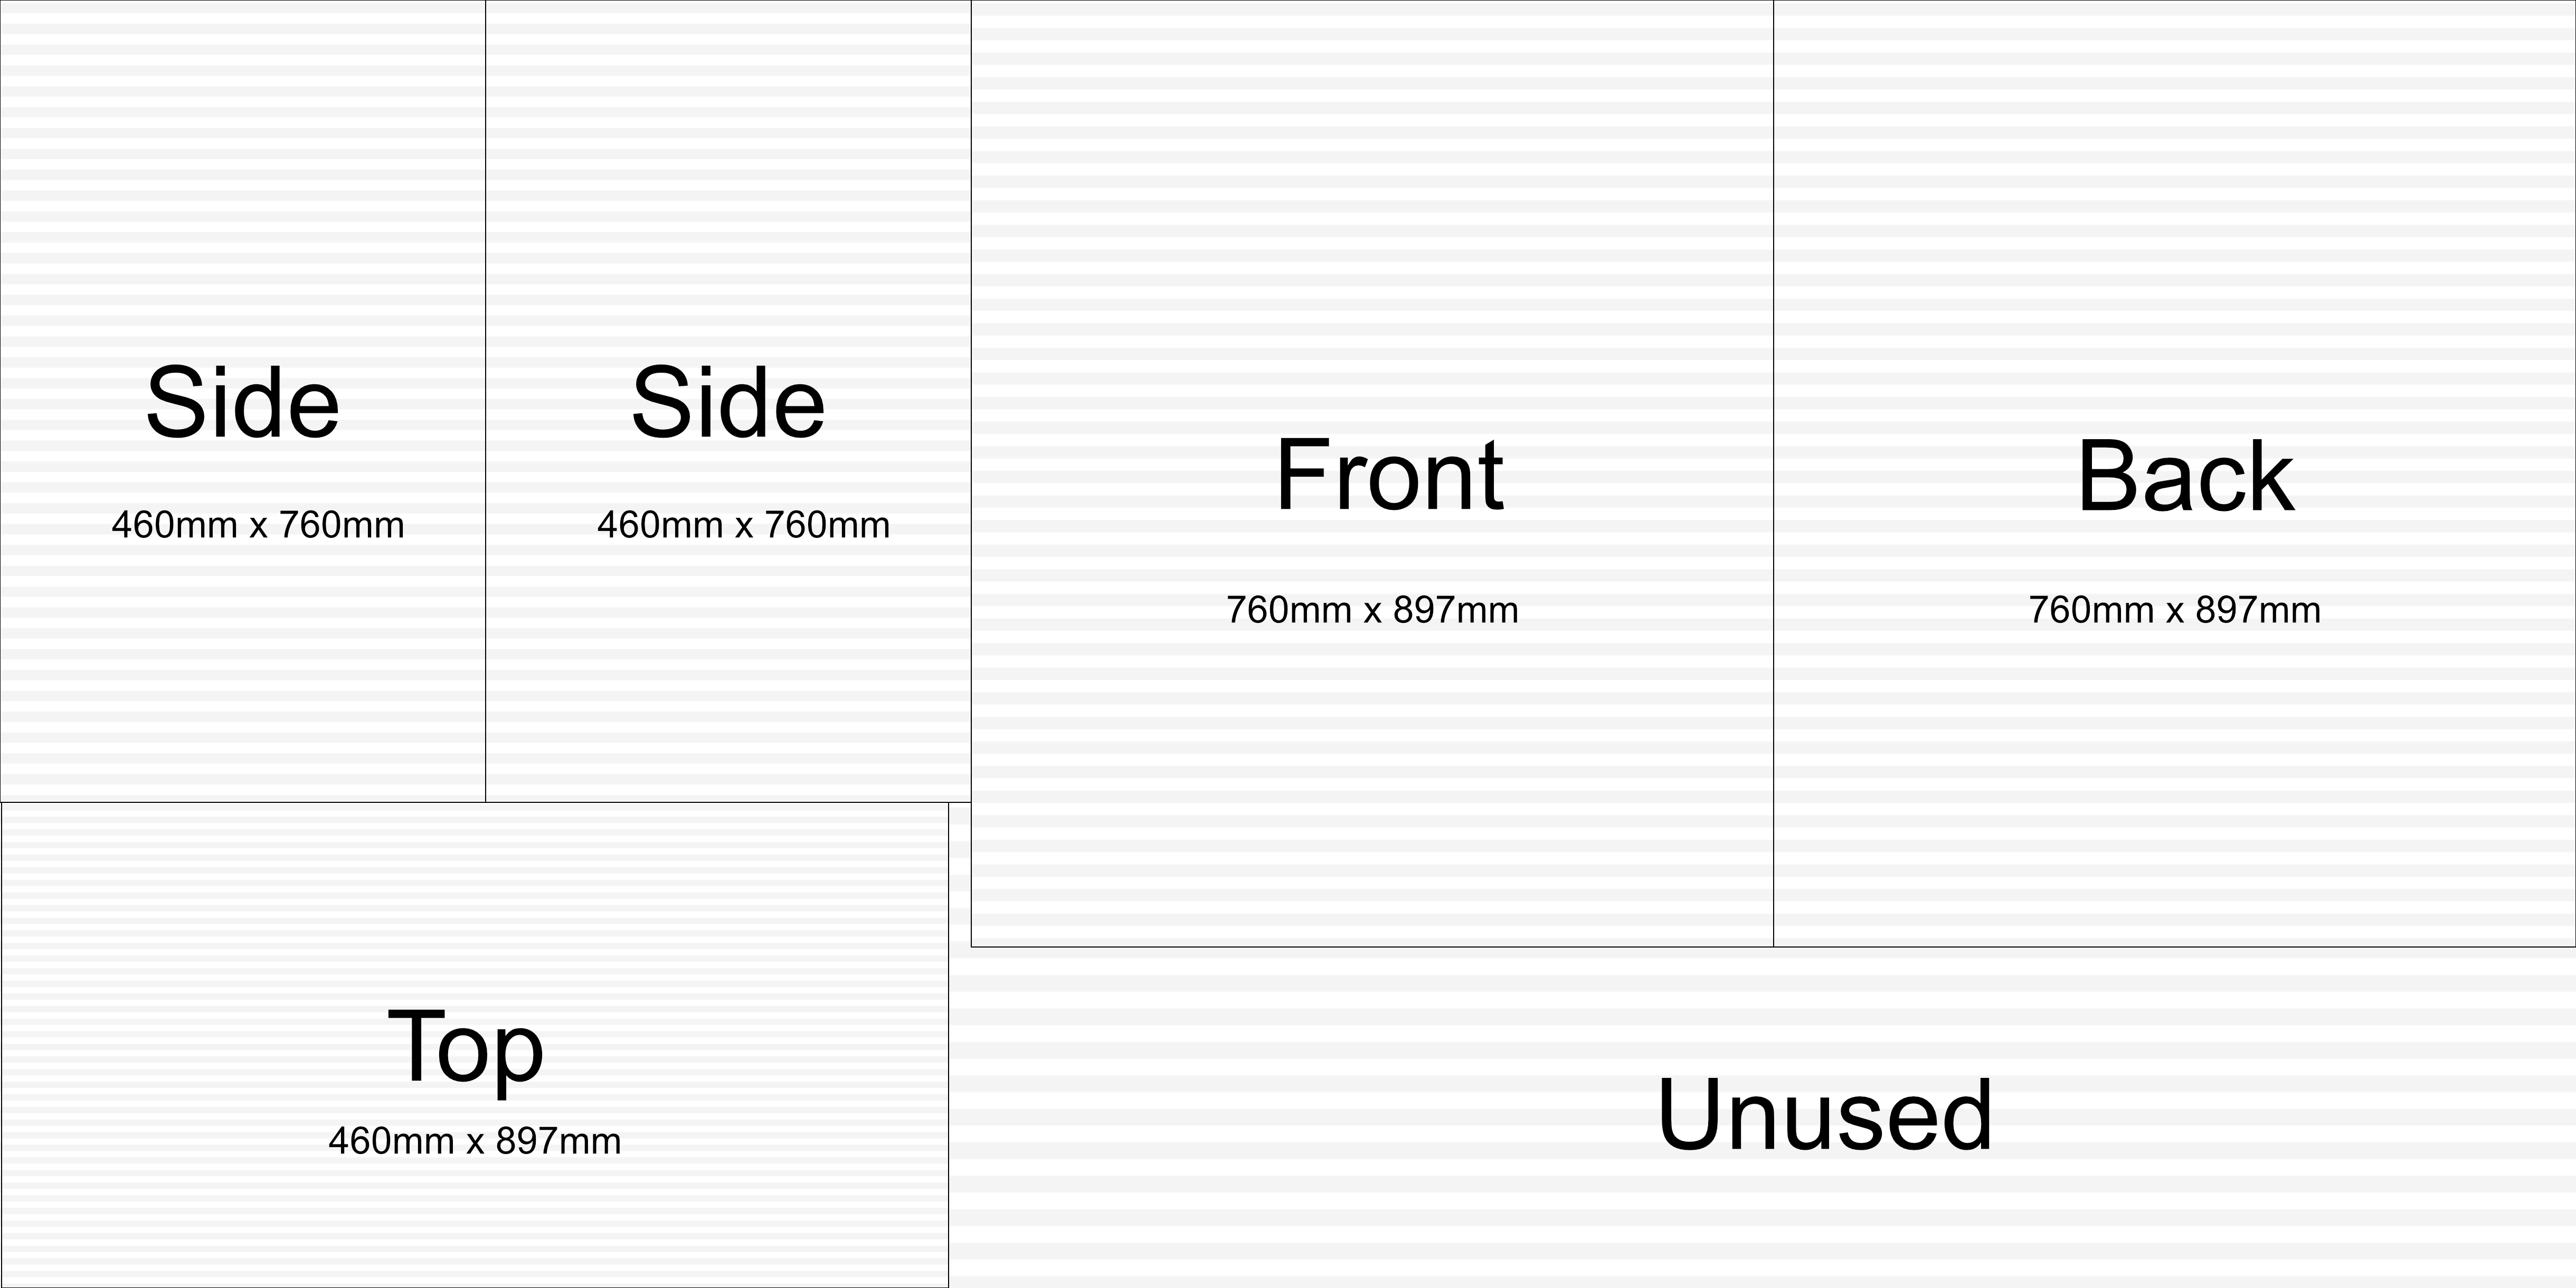
- Cut the polycarbonate sheet to the dimensions in the diagram. I found it easiest to cut using a utility knife with a new blade and a straight edge while on a sheet of cardboard.
- 2 – Front/Back Panels: 760mm x 897mm
- 2 – Side Panels: 460mm x 760mm
- 1 – Top Panel: 460mm x 897mm
- Assemble the box.
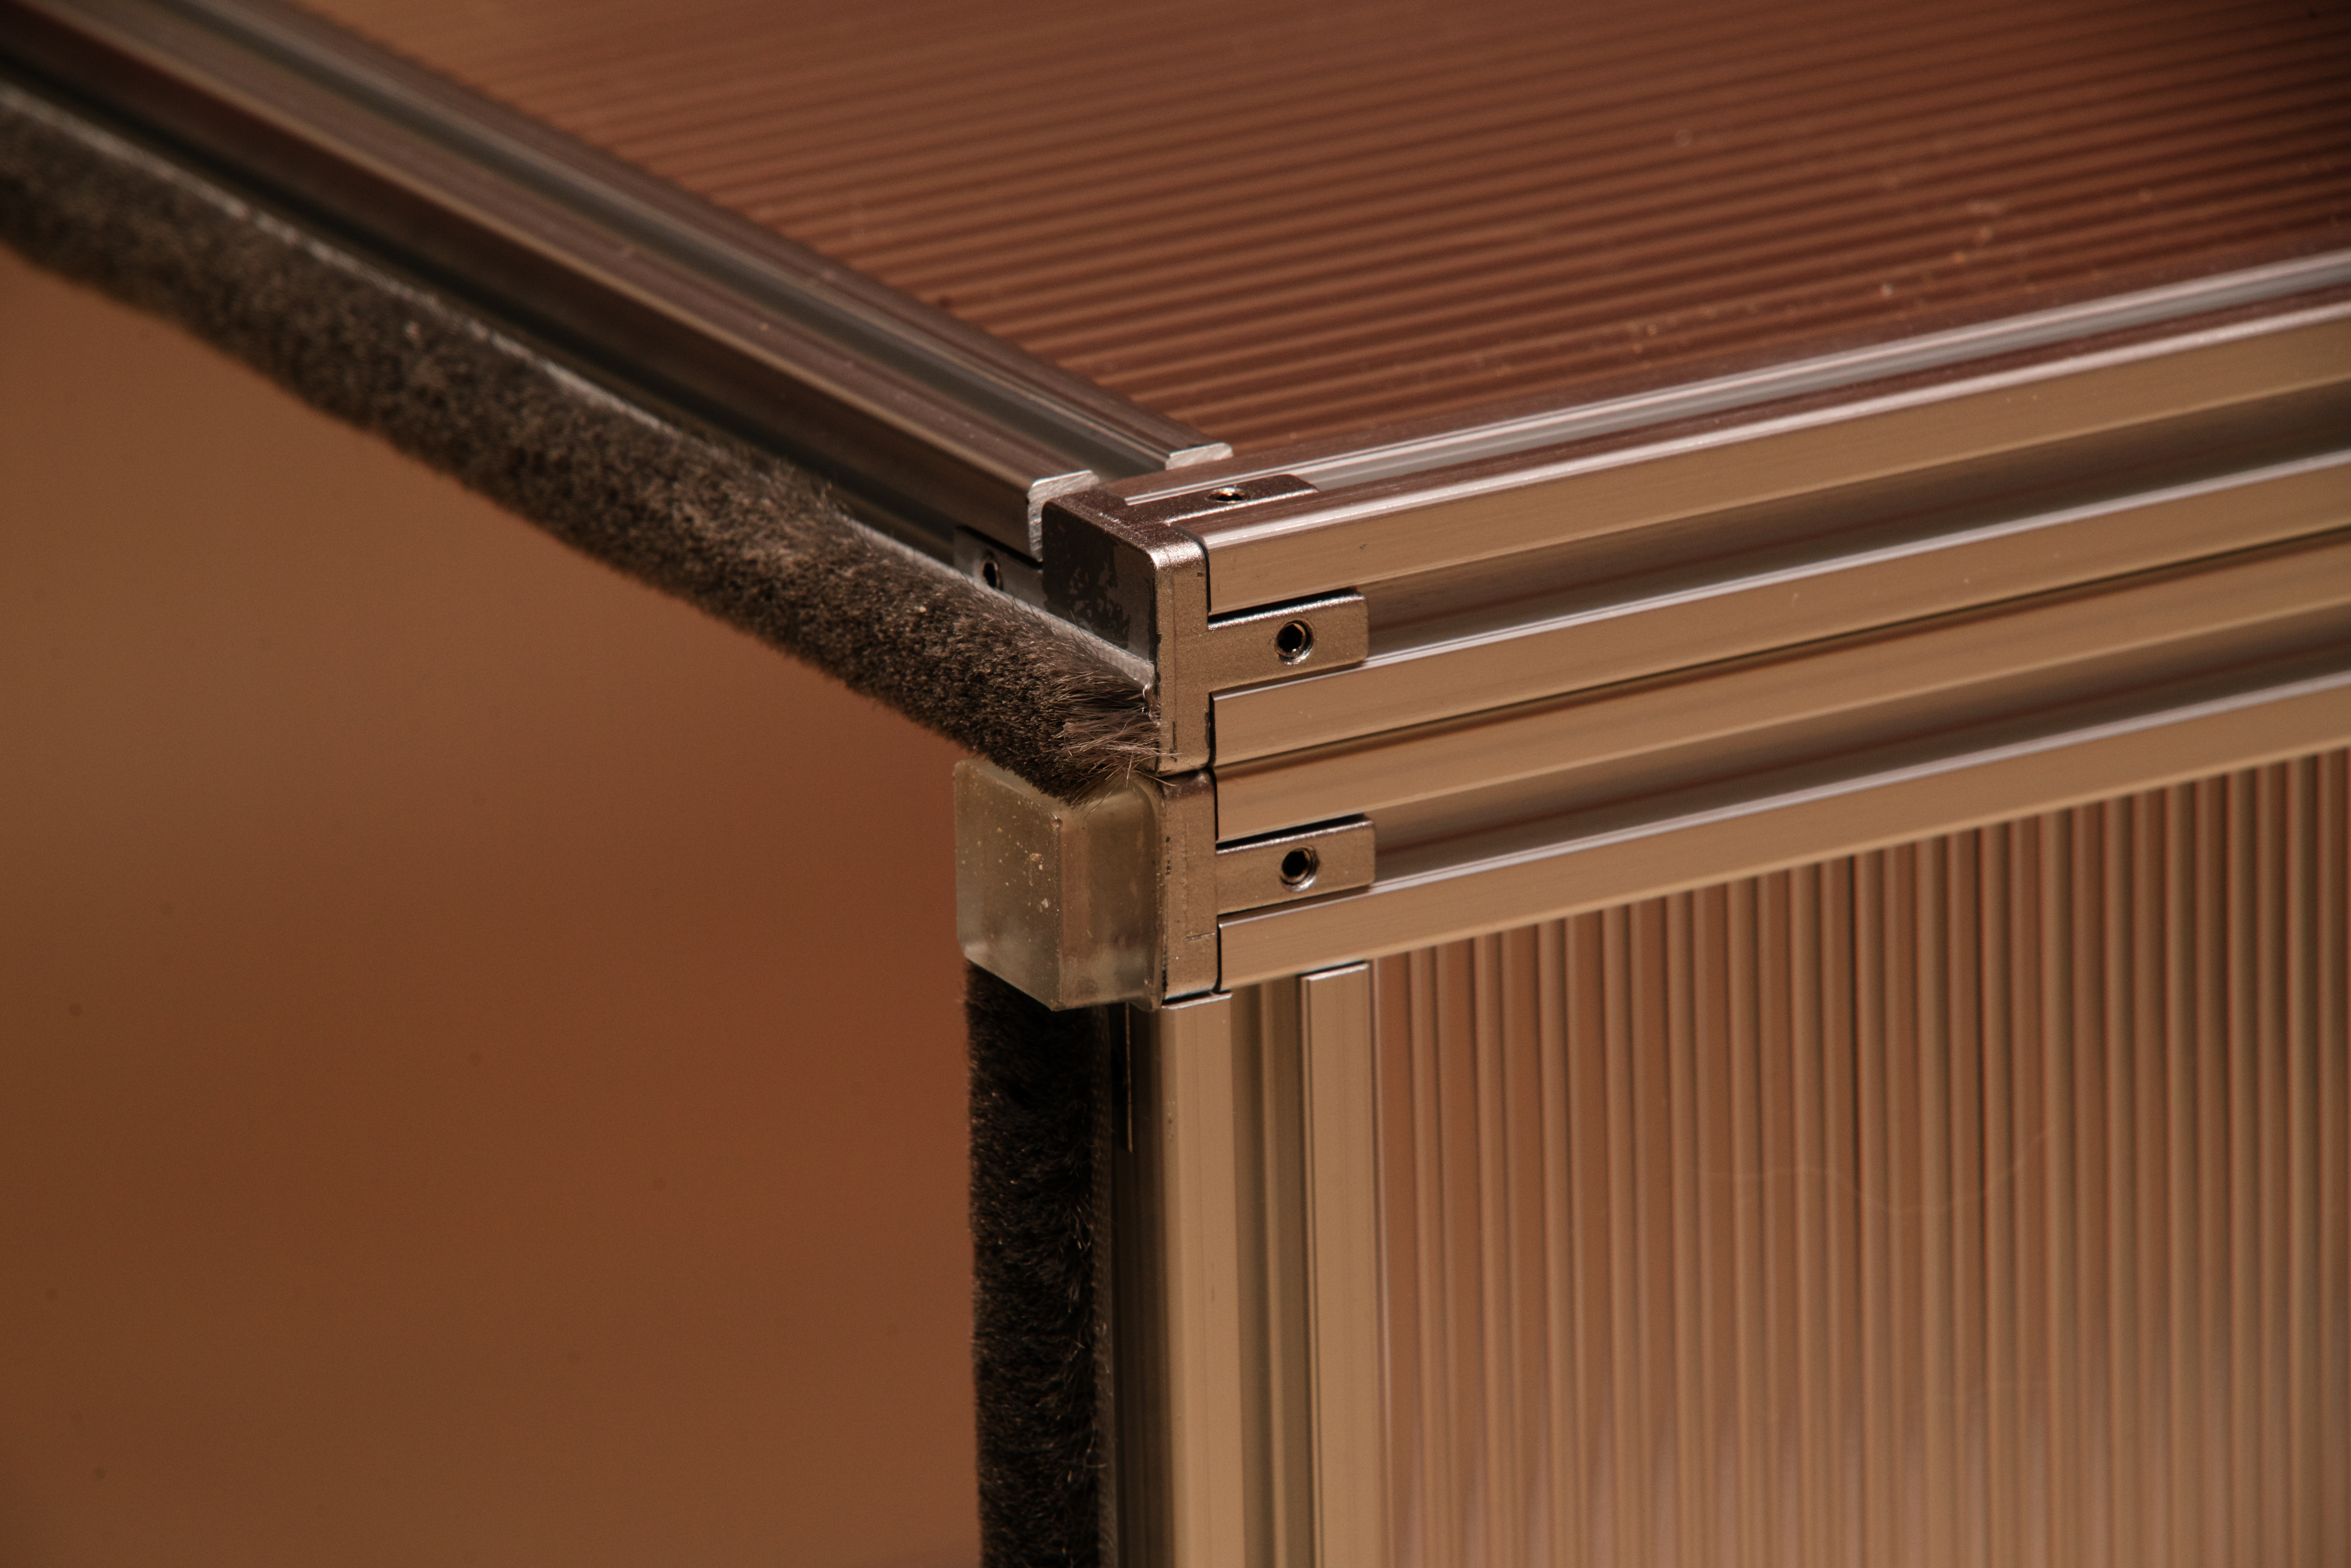
- Begin by assembling the frame for the back of the box. Note that the corner brackets always cover the ends of the 783mm beams.
- Connect a 783mm beam and a 884mm beam via an uncut corner bracket.
- Repeat previous step.
- Join the two L-shapes together to enclose a 760mm x 897mm polycarbonate panel using 2 uncut corner brackets. The polycarbonate panel fits in the beam’s channel. The corners of the sheet will need to be snipped to accommodate the corner brackets.
- Attach the four 445mm beams to the back frame.
- Slide the 460mm x 897mm polycarbonate panel into the top frame and enclose with two uncut corner brackets and an 884mm beam.
- Slide a 460mm x 760mm polycarbonate panel into one side frame. Enclose frame with a 783mm beam and a corner bracket with the appropriate red or blue leg cut off.
- Do the same process for the other side.
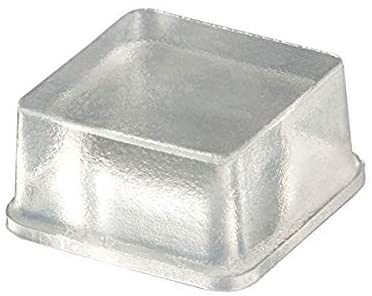
- Attach the rubber bumpers and weatherstrip to the bottom of the box.
- Begin by assembling the frame for the back of the box. Note that the corner brackets always cover the ends of the 783mm beams.
- Assemble the door.
- Join a 783mm beam to a 884 beam using a corner bracket with the red leg cut off.
- Repeat previous step.
- Now frame the 760mm x 897mm polycarbonate panel with the two L-shaped frames and the corner brackets with the blue leg cut off.
- Drill holes thru one of the 884mm beams for the handle then attach the handle.
- Attach the weather stripping along the same side as the handle.
- Attach the door to the body of the box using the hinges.
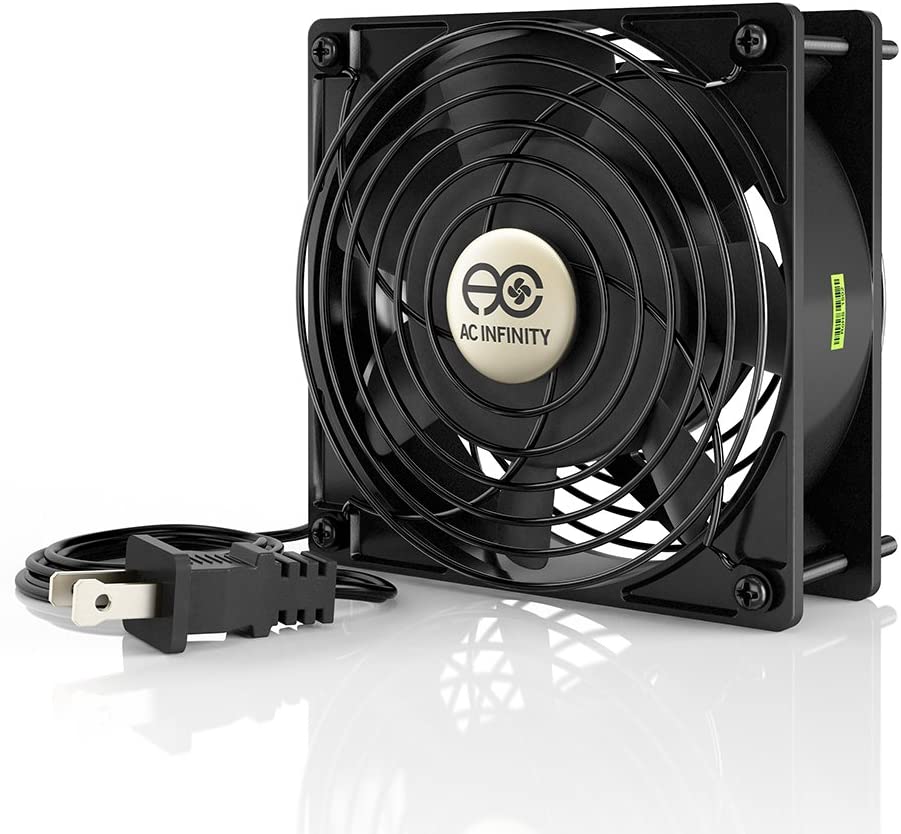
- Install the fan.
- Decide the best location of the fan for your setup.
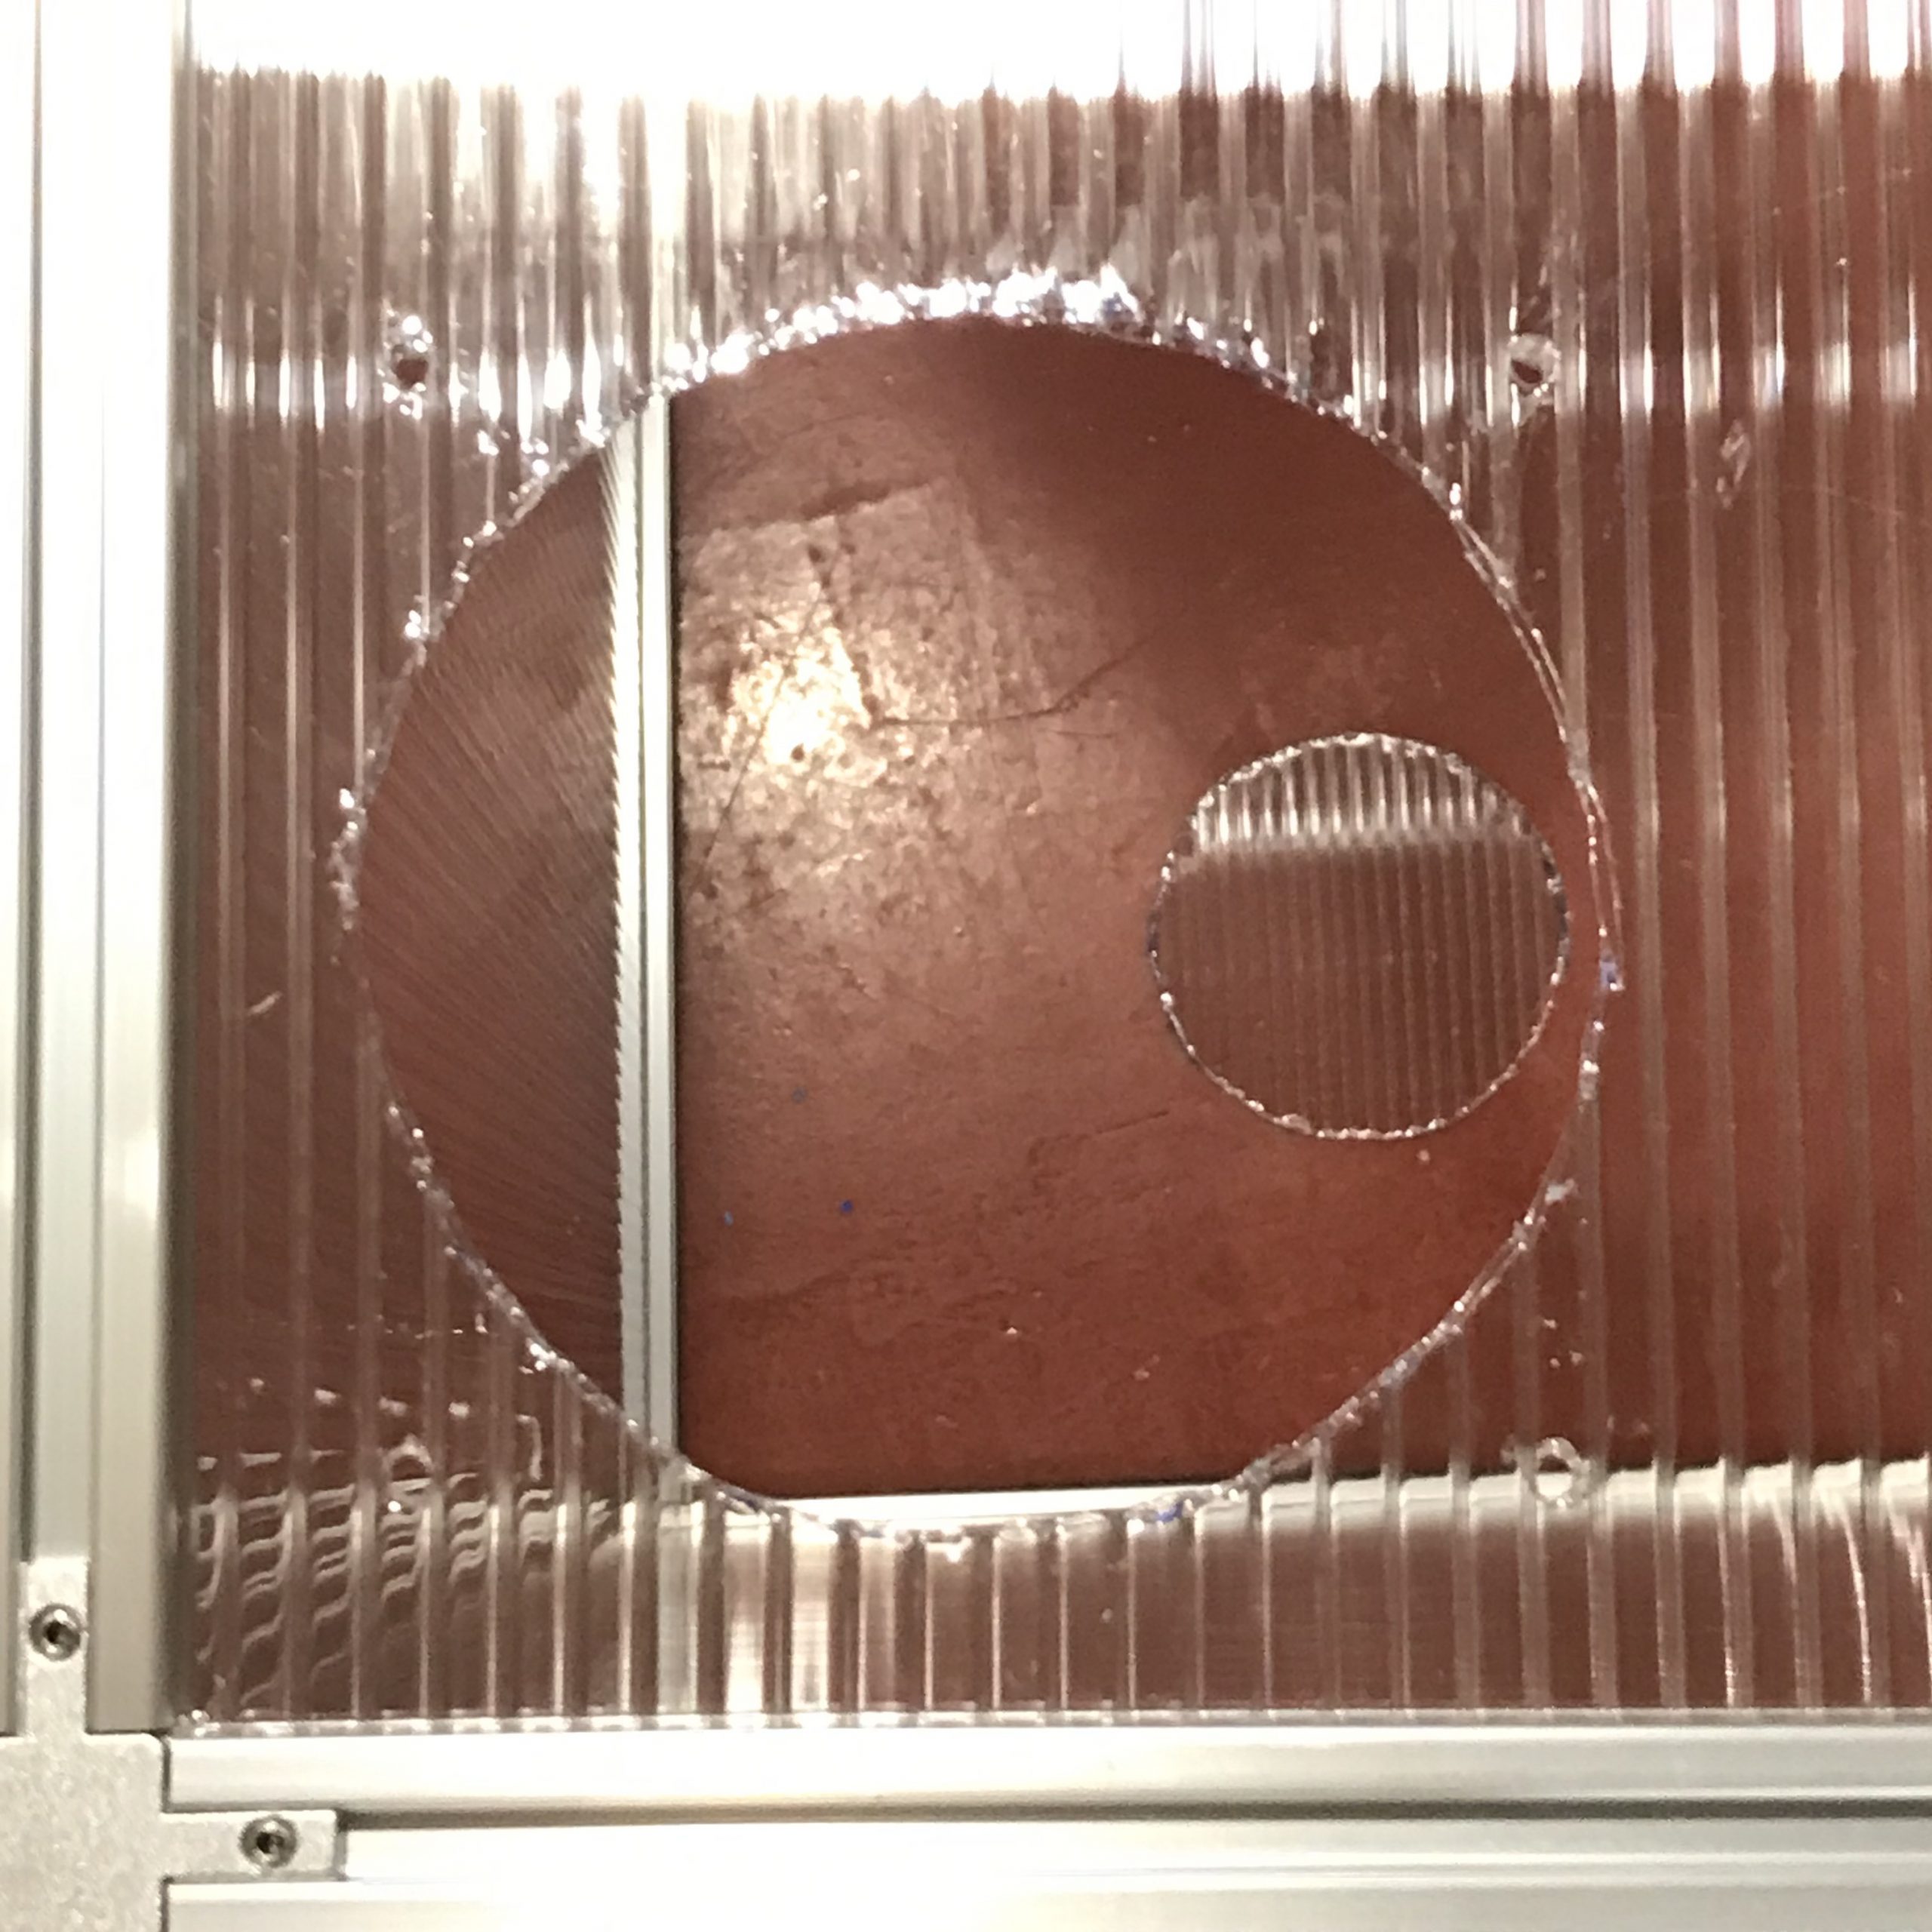
- Use the metal fan grill to mark the holes for the screws and an outline of the grill on the polycarbonate box.
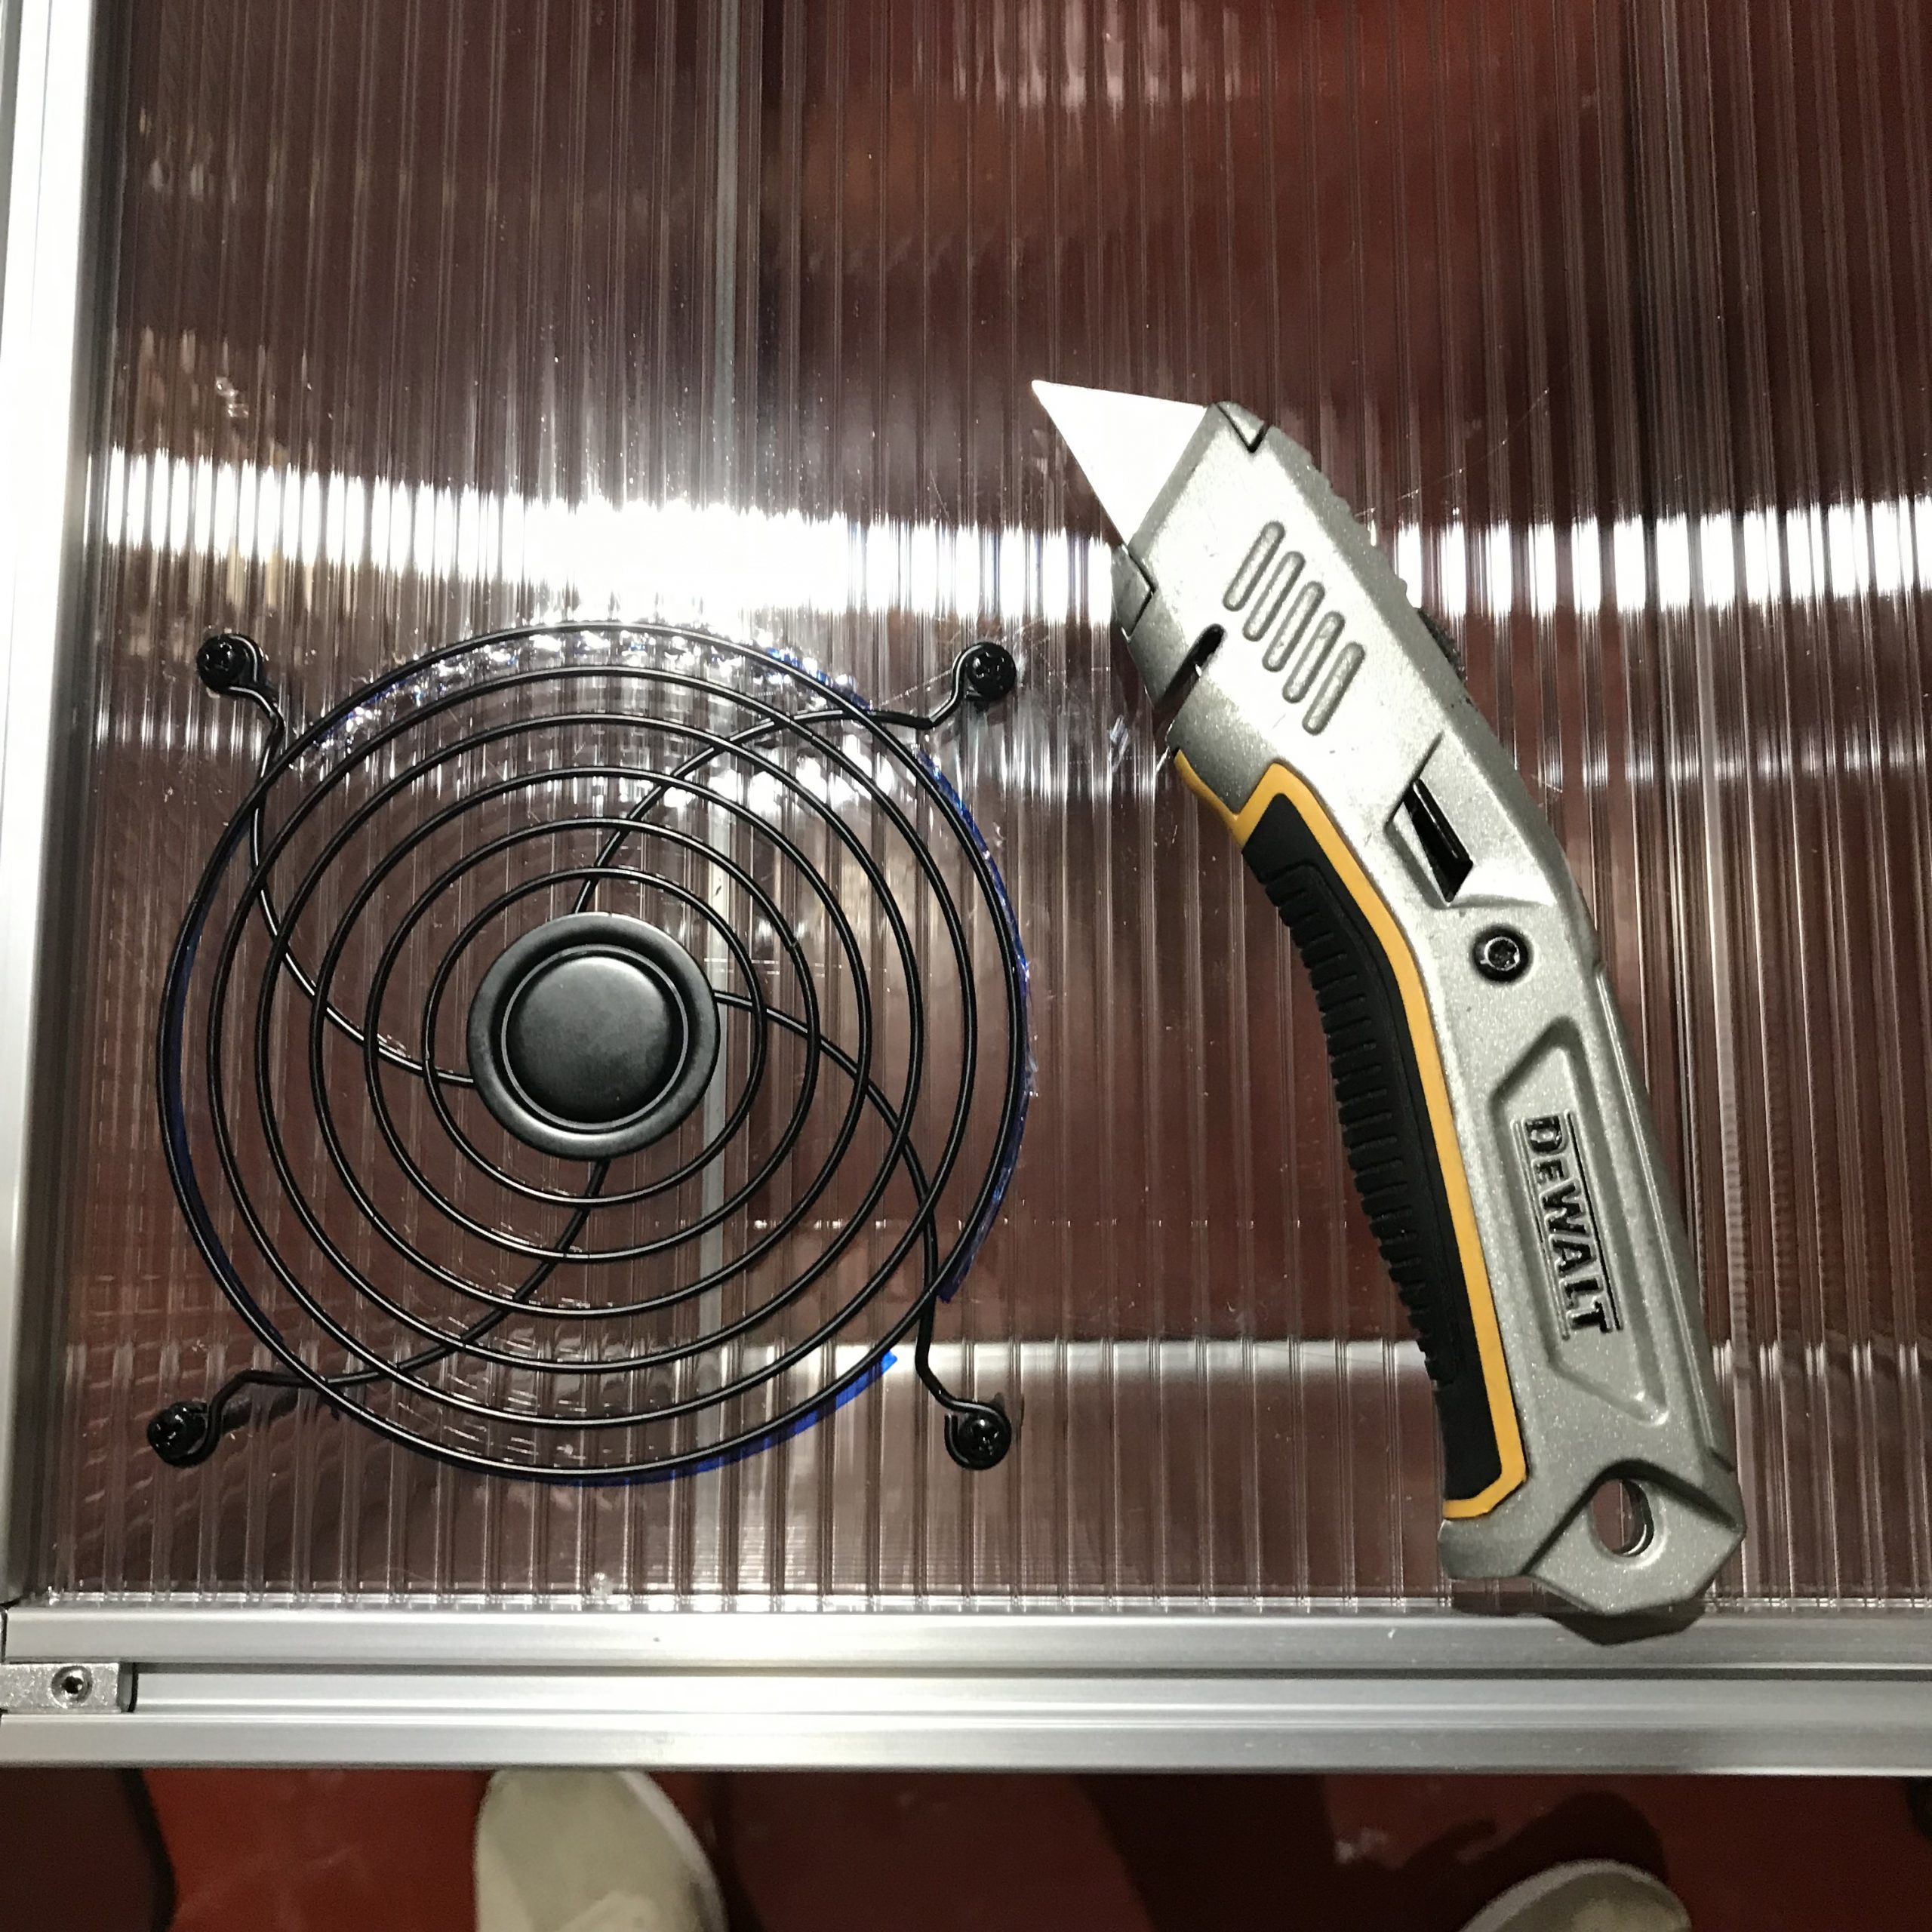
- Drill holes into the polycarbonate sheet for the screw holes.
- Use the utility knife to poke into the polycarbonate sheet around the outline. Poking is easier than trying to pull the knife around the circle and eliminates the likelihood of cutting outside the circle.
- Attach the fan and connect to speed control.
Conclusion
This exhaust hood reduces harmful irritants. Run the variable fan on low while the printer is running and the door is closed to maintain a negative pressure within the enclosure. Run the fan on high when the door is open to help prevent fumes from escaping.